How to install tuning machines on your bass guitar

BBG tech Max takes us through the installation of a set of new tuning machines, with some tips and tricks that'll save you some time.
What you'll need
- Hand screw driver
- Drill
- Old bar of soap
- Tappered dowel
- T-square
Step one: Unwind the strings and remove the old tuning machines
The first step, you guessed it, is removing the strings. Unwind all the strings completely and lay them off the side so they do not get tangled or damaged during the installation.
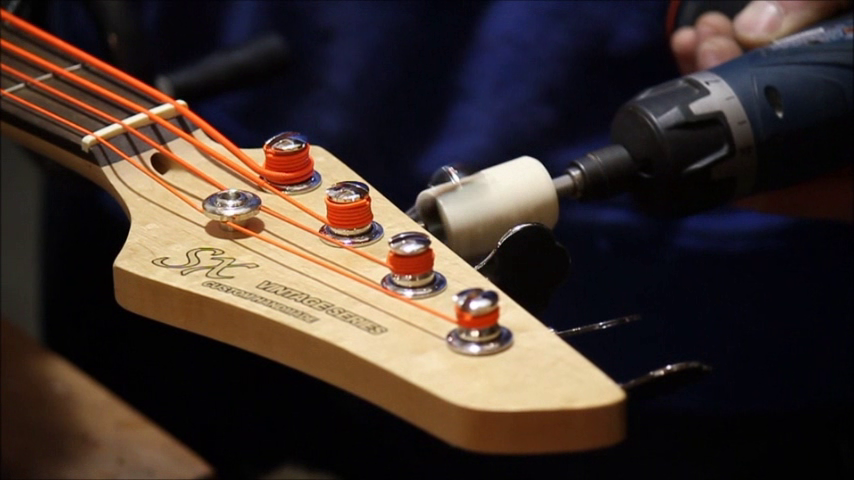
We are going to be replacing the vintage style tuning keys on this P-bass with Hipshot HB7 tuning machines. There is no drop-in retrofit for these tuners, but the HB7s are as close of a match in the vintage mount as possible.
After unscrewing the old tuning machines we can already see that the install is going to mean drilling a few new holes for the HB7s.
Step two: Replacing the bushings

It is often possible to reuse the old bushings that were inlaid in the peghead. But if you want to replace them, Max has a simple easy way to get them out.
Taking a tapper dowel and working it in circles inside the bushing he is able to work it free. Now he uses the larger end of the dowel to push it out from the bottom. In situations like these the best route to go is with a method like this, instead of breaking out a hammer or anything, so there is a much smaller chance of damaging your bass.
Now we are going to use an old bar of soap to rub just a little bit, not an excessive amount, of soap onto the bushings to facilitate their being pushed in.
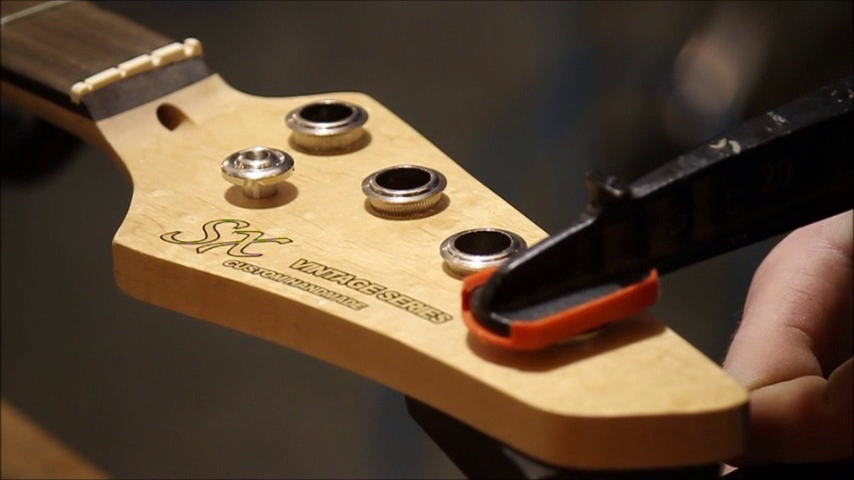
Again, you can bang away at the thing with a hammer to get those bushings completely in, but you are putting your bass in harm’s way. Max uses a clamp to push them in. He puts a block of wood under the peghead so the clamp doesn’t risk leaving any dents, and he carefully tightens the clamp until the bushing is in place.
Step three: Marking new holes
Now returning to the screw holes we can see that even though the replacement tuners seem almost exactly the same our drill pattern is slightly different. This means we’re going to have to drill new holes.
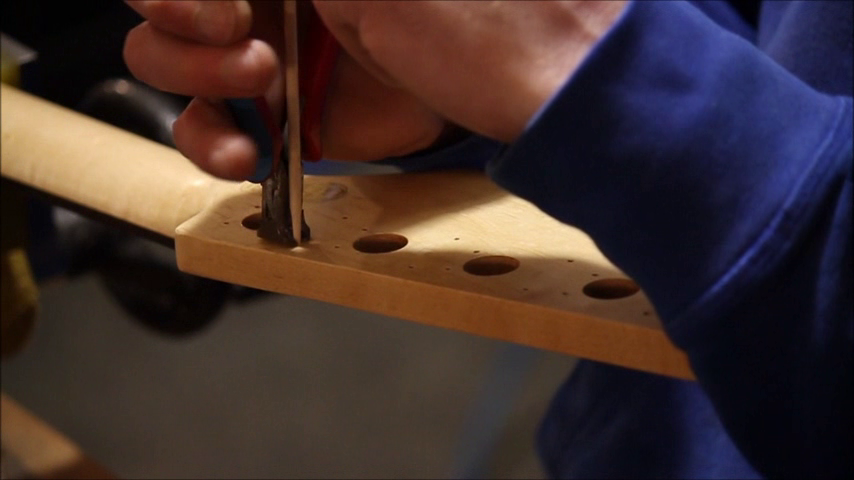
However, since the holes would be so close if we try to drill the new holes the drill is going to end up fall into the old hole as well. This is no good.
These kinds of issues are going to come up during an install of this nature, but it’s not a big deal. We are just going to, improvise, filling in the old holes before we drill the new ones.
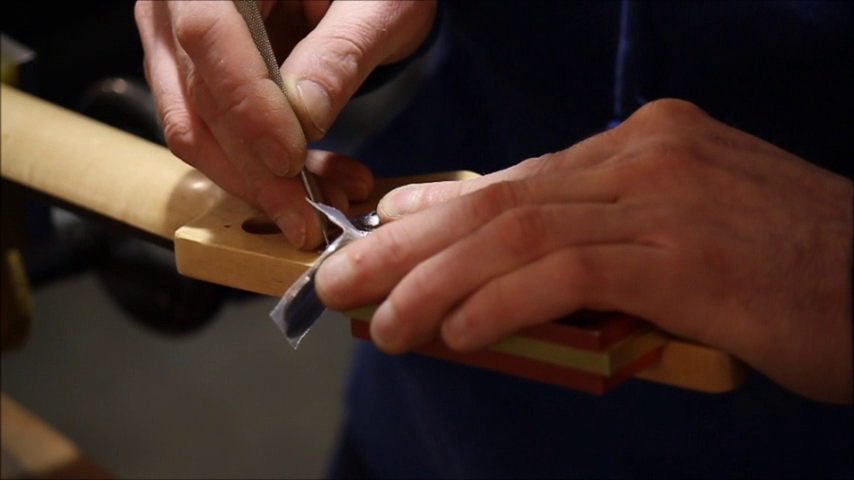
To do this we take a narrow dowel over to the disk sander and shape it to fit into the hole. After placing it in we use flush cutters to trim the dowel so it is flush with the wood of the peghead. Then we just put one very small drop of superglue on top of the dowel. Repeat for each hole.
This can be a little tedious, but it’s the only way to make sure it’s done right.
Alright, we’ve got that behind us. Now where were we?
We are ready to start installing the new tuning machines, but first we need to mark out the drill pattern. Taking one of the new Hipshot HB7s we use a square to make sure we have it exactly in place, and then we center punch each hole to mark where we need to drill our new holes. Take your time and work slowly so that everything is aligned correctly.
The last one is difficult trying to use the square, so just place on an adjacent tuner and then eye ball it so it looks straight.
Step four: Drilling the new holes
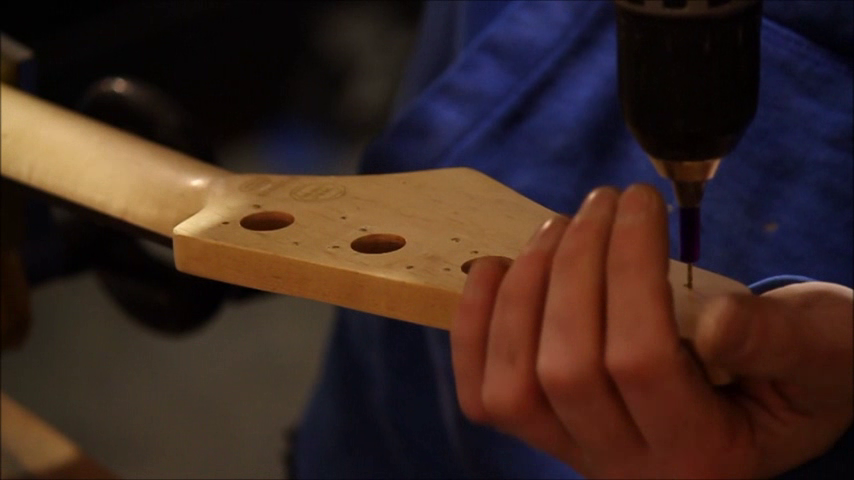
On our drill we have a depth stop that prevents us from accidently drilling too far into the peghead. Now we drill out each hole, cleaning the flutes of the drill between each hole to make sure you get a nice, clean hole.
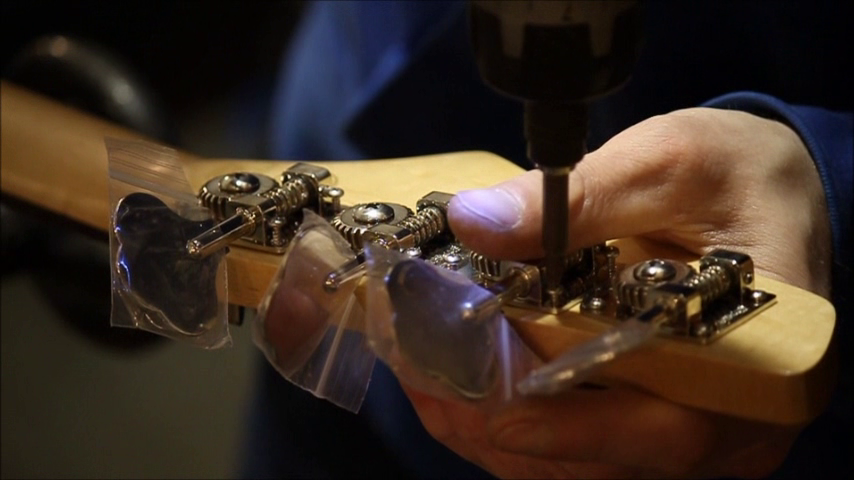
Step five: Mounting new tuning machines

Just like we did with the bushing, we are going to take a touch of soap to the threads of our tuning machine screws to help cut the new hole.
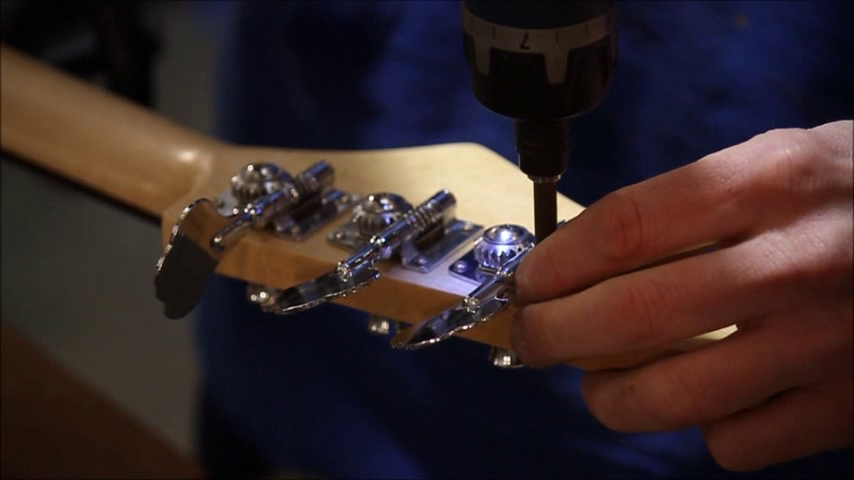
We get each screw started with a hand screw driver to make sure our screws are going in completely straight. After we get each in we’ll come back with the electric screwdriver to make sure they are completely screwed in.
Once again we’ve run into a problem. The spacing on the tuning machines makes for a tight fit. The base plates are running into each other, so we’re going to modify one tuner. We’ll take it over and grind off just a bit of the tuner so it’ll drop in place and no one will ever be able to tell the difference.
Now we finish screwing in with the electric screw driver and our new set of tuning machines are installed.