
In this build step we will be drilling out the remainder of the pick guard holes and finishing the pick guard neck cutout.
Below: The pick guard is laying on body, and the tools we will be using are shown, that being a centerpunch (top), a chamfer/countersink bit, and 1/16″ bit w/tape on it. There is also a small pile of pick guard screws. (Additional info: The cutting tools to be used will be the band saw and router table.)

Below: This is the body as-is at the time. Pick guard screw holes have already been drilled for control cavity area in a previous step. The holes for the remainder of the pick guard will now be drilled.

Below: Holes are centerpunched before drilling to allow for better drilling accuracy later.

Below: Holes being drilled after being centerpunched. The drill depth is about 1/2″.

Below: After initial holes are drilled, a switch is made over to the countersinking bit for chamfering.

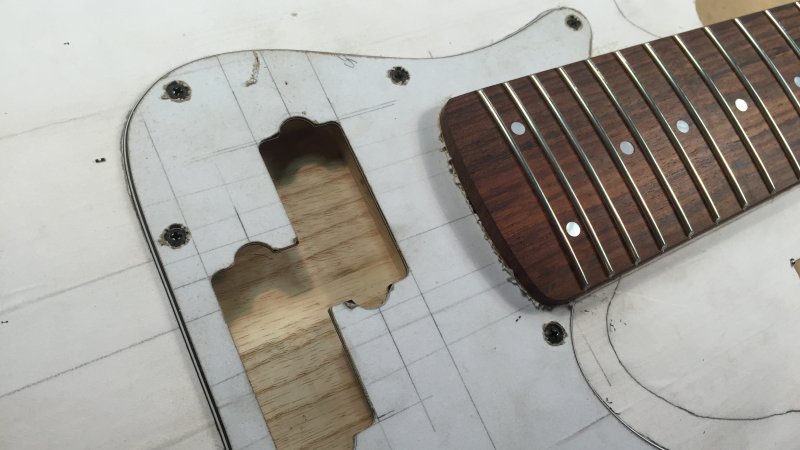
Below: Showing the area of the pick guard where the neck cutout will be.

Below: Cut being performed using the band saw.

Below: Rough neck cutout completed.

Below: Screwing the pick guard on to the body.

Below: Pick guard is still overhanging the neck route at this point.

Below: Close-up of router table showing how bearing top router bit is adjusted.

Below: About to start the pass.

Below: Pass being made:
![IMG_3091.m4v_snapshot_05.01_[2016.08.09_10.37.37]](https://www.bestbassgear.com/ebass/wp-content/uploads/2016/08/IMG_3091.m4v_snapshot_05.01_2016.08.09_10.37.37.jpg "IMG_3091.m4v_snapshot_05.01_[2016.08.09_10.37.37]")
Below: Pass completed and now neck pocket area has been successfully smoothed out.

Below: Test fit with neck attached.

At this stage, our pick guard is DONE. 🙂
Where are the rest of the build steps?
You can view them all here.

