
In this first part of this build step, we shape some more using a combination of both hand and power sanding with the goal of finalizing the overall shape.
(Note: Since this step is split into parts, the tools shown will be shown over a series of articles.)
Below: The body with rasp sitting on top, a pair of work gloves, 80-grit self-adhesive sandpaper, some bladder sanders (all same size, different grits), two F clamps, caul scrap blocks and a power drill.

Below: Body is clamped to table (note that scrap blocks are used specifically to prevent the body from becoming dented).

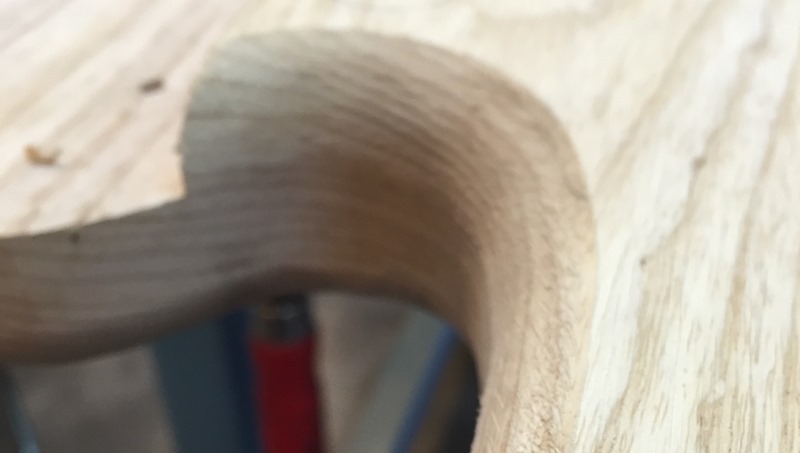
Below: From a previous build step, this is a router burn mark from rounding over process. This needs to be fixed.

Below: Before using the rasp, there is an edge present that needs to be ramped down due to the fact the rasp would break the wood and cause more undue work.

Below: To ramp down this edge, a utility blade is used.

Below: The edge has been ramped down and is now prepped for rasp use.

Below: The rasp is now used to smooth the edge and remove the burn mark.

Below: Rasp work is completed and burn mark removed.

Below: The other side of the neck pocket that also needs material removed before the rasp is used.

Below: Again, the utility blade is used to remove a small amount of material to prep the area for rasp use.

Below: Blade work is completed, and now the rasp is put to use again.

Below: Rasp work is now completed on this side of the neck pocket.

Where are the rest of the build steps?
You can view them all here.

