

This is a continuation from part 4.
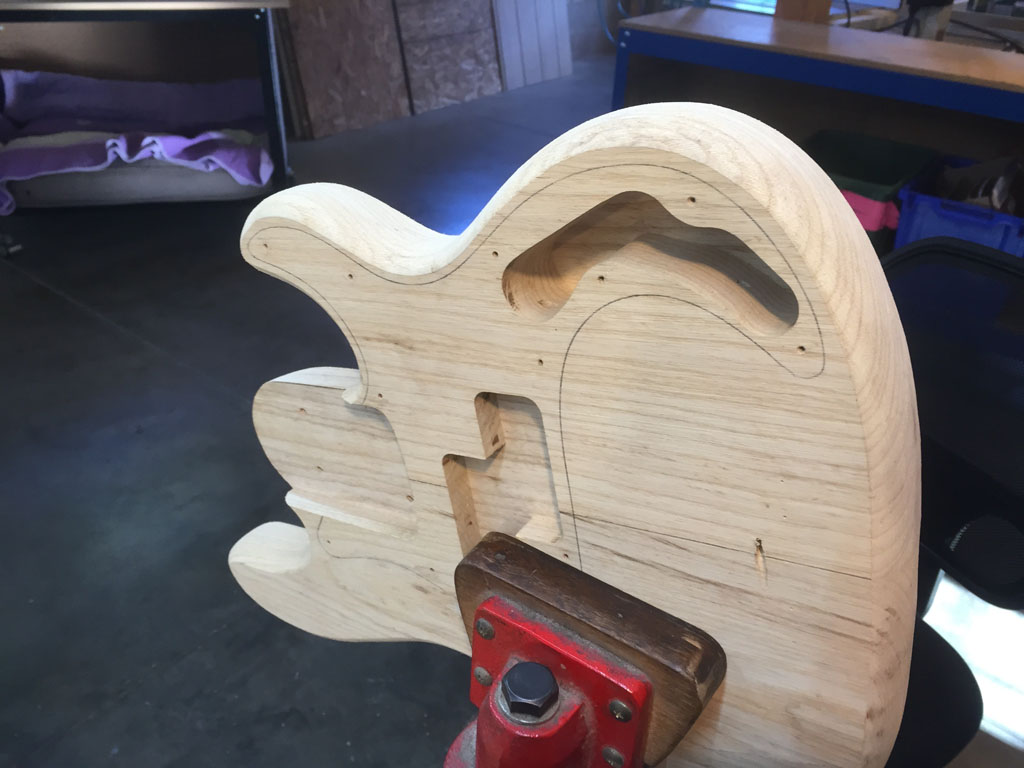
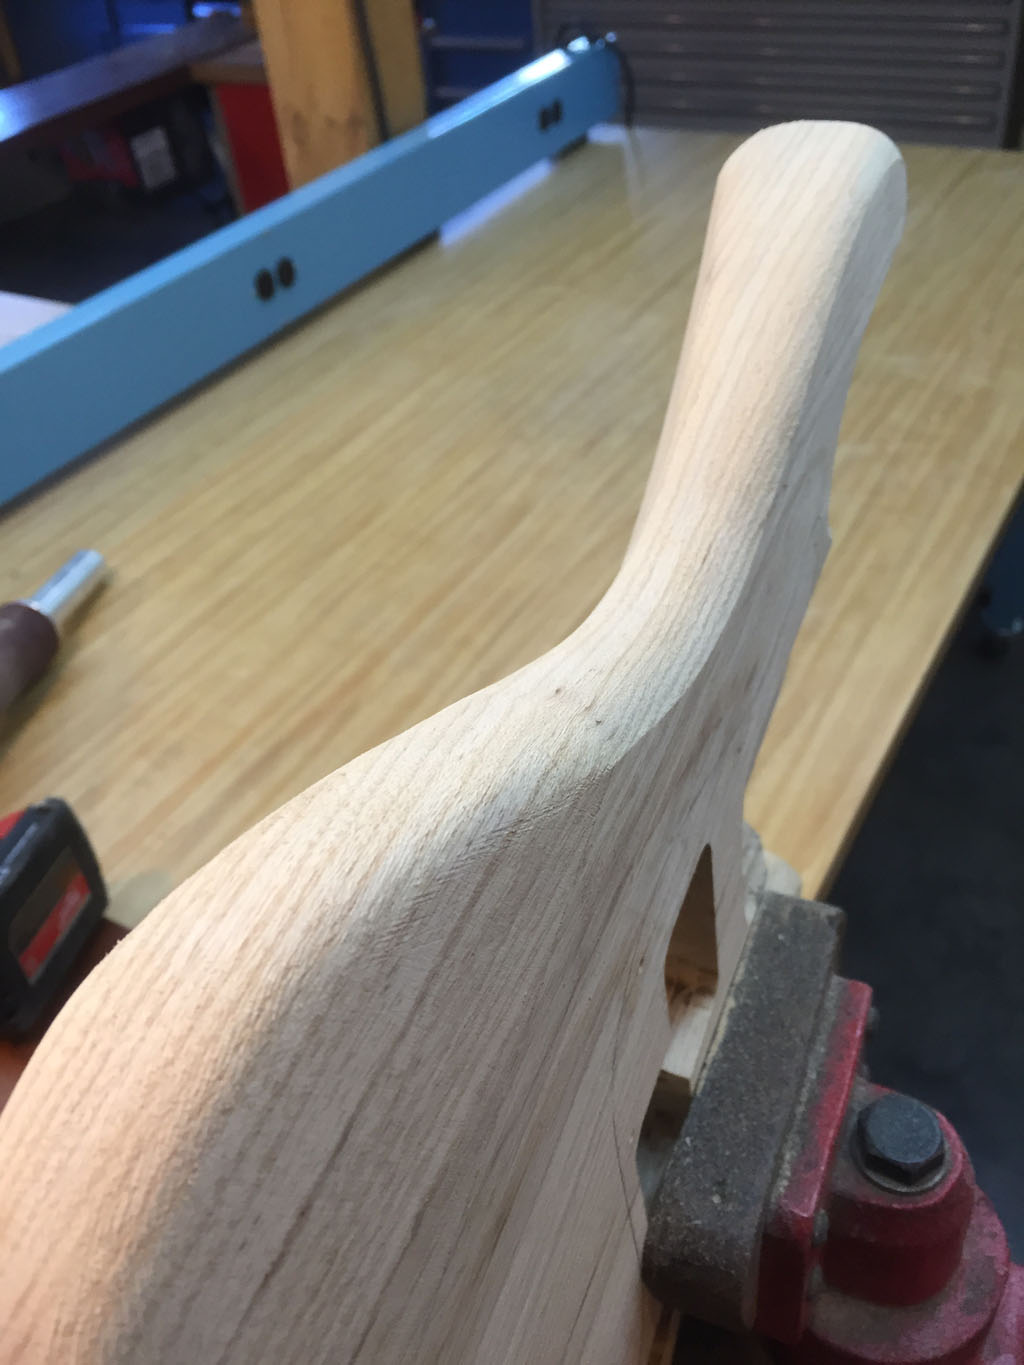
Below: Body has been clamped into upright position.
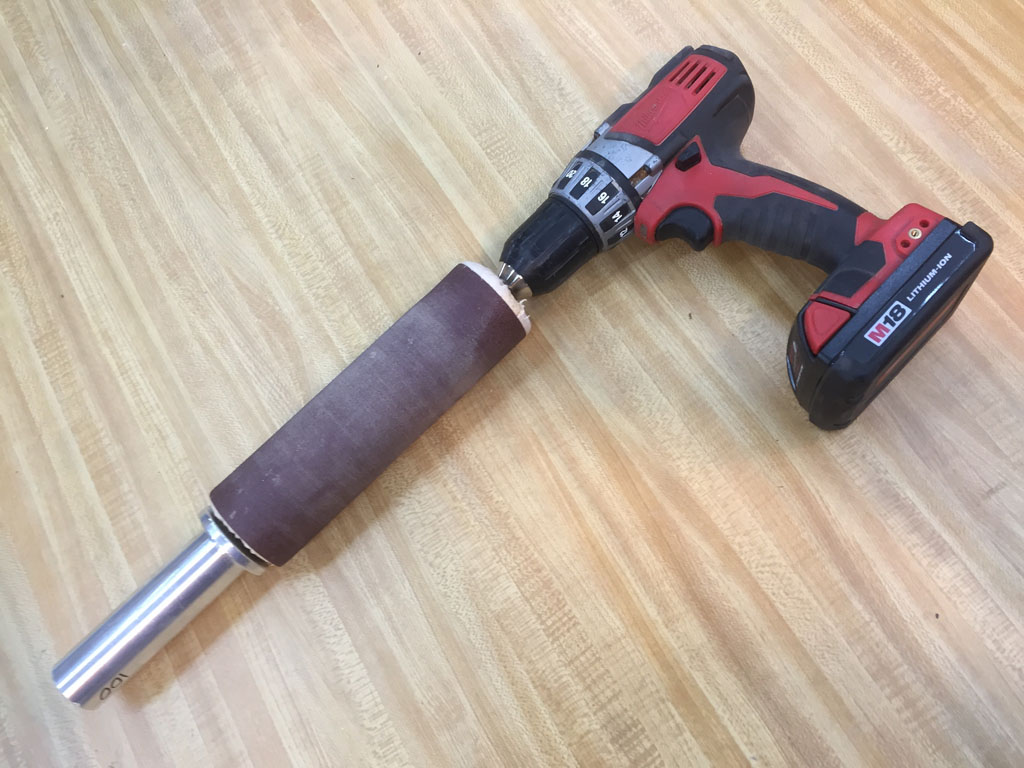
Below: The tool we’ll be using here is a handheld pneumatic drum sander (otherwise known as bladder sander) with 2.5-inch cylinder, connected to a cordless drill.
Below: Using the handheld pneumatic drum sander. The advantage of using this tool is that it quickly removes file marks and small inconsistencies with minimal effort.
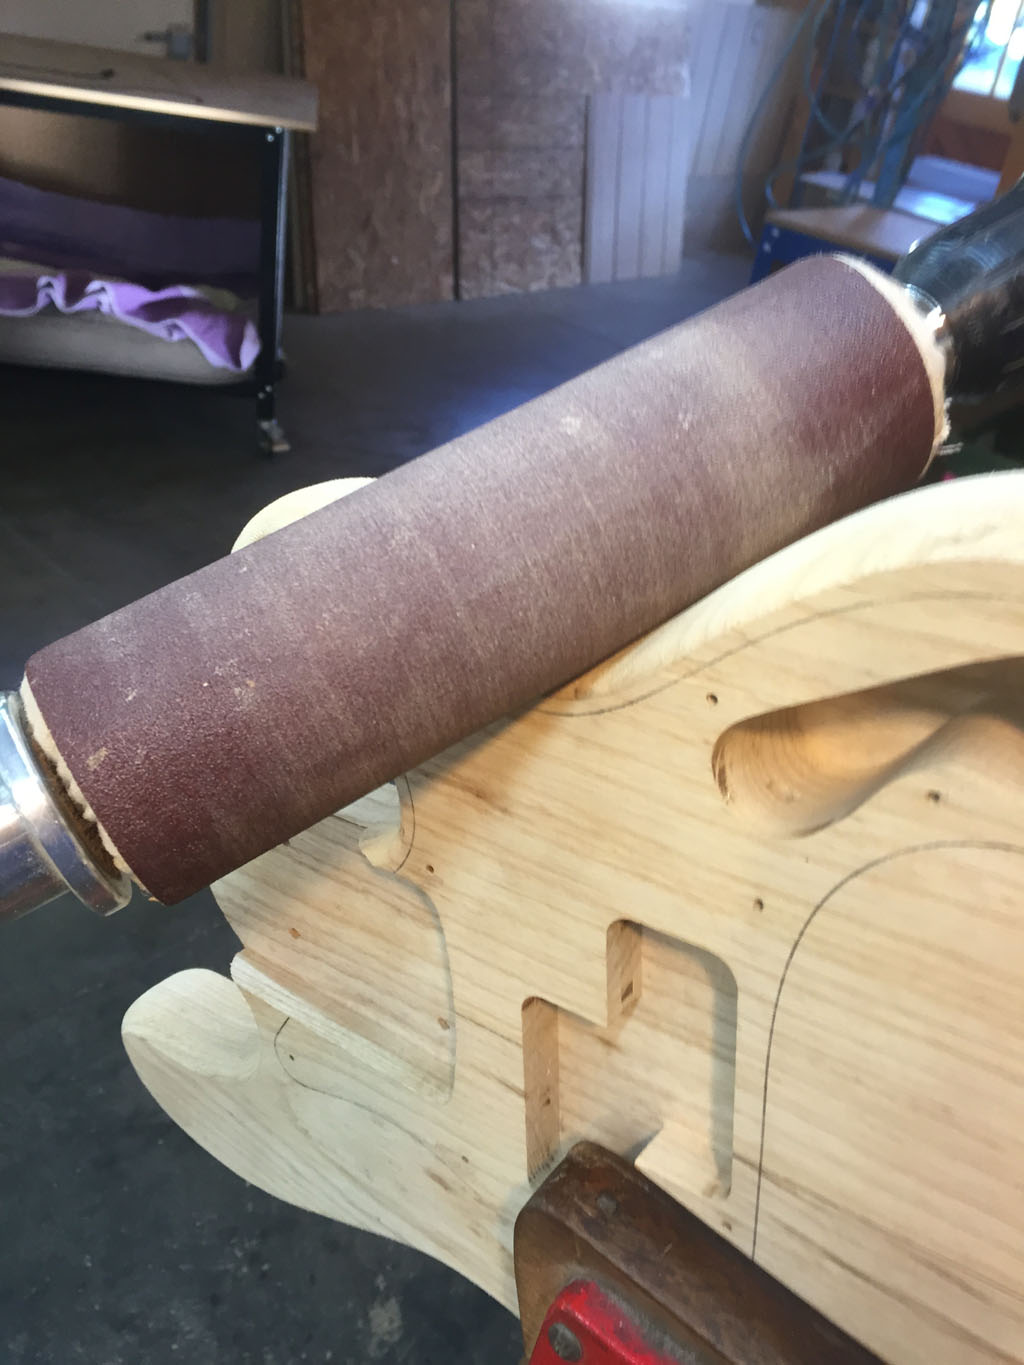
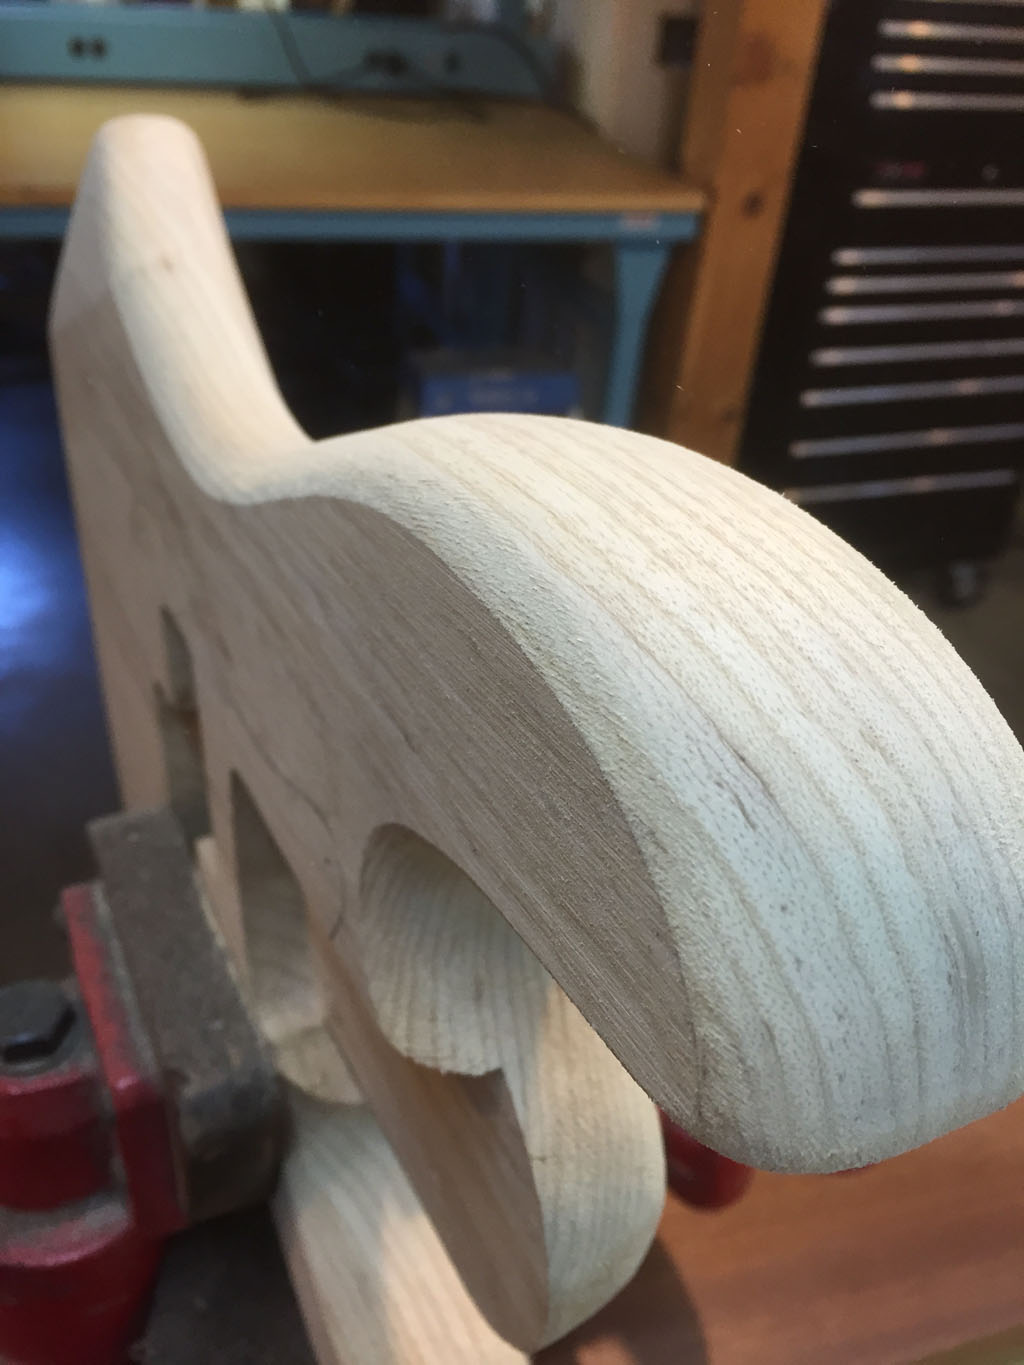
Below: The results of using the sander for just a small amount of time; it makes a big difference.
Below: Detailed sanding is required here. A sleeve from a spindle sander was used here for this precise work (note: the sander shown is tube-shaped and not flat)
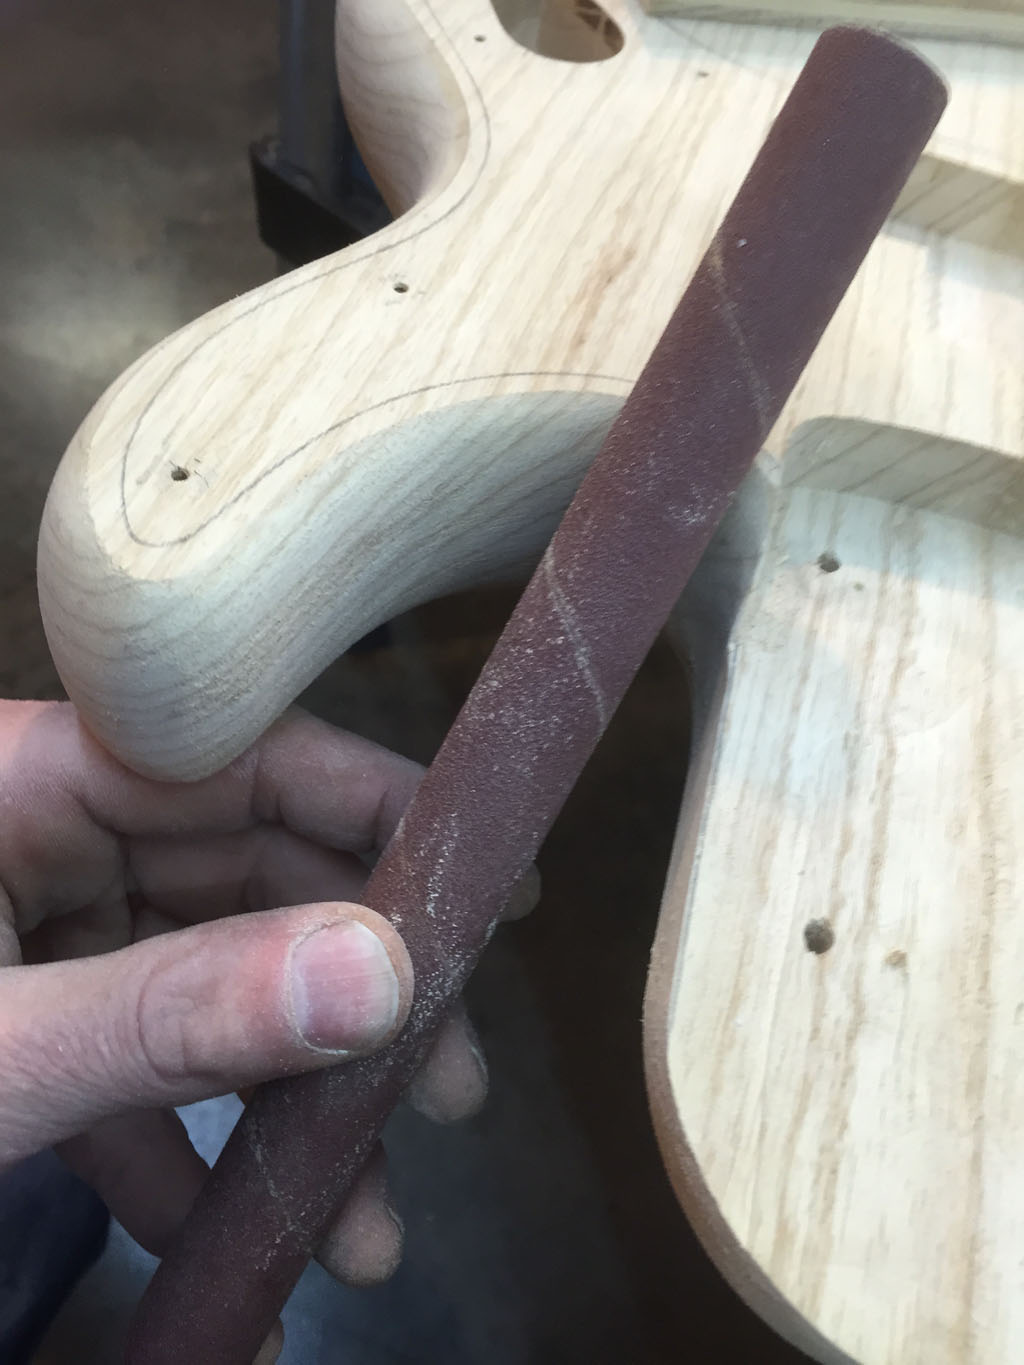
Below: The results of the detailed sanding in the cutaway area.
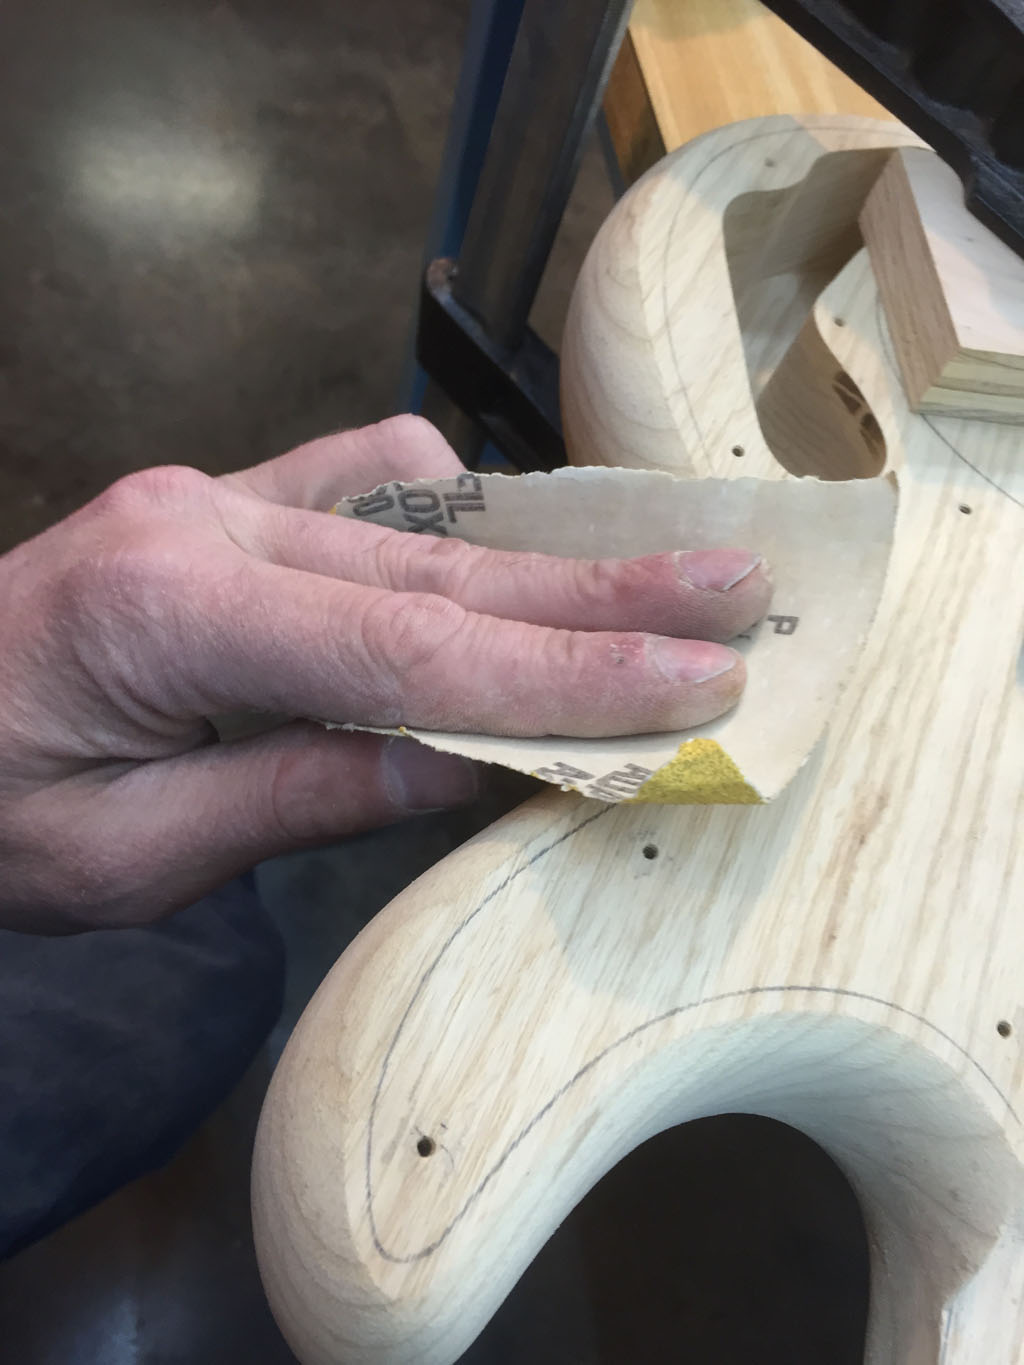
Below: Using some 80-grit sandpaper for hand sanding to finely smooth out areas.
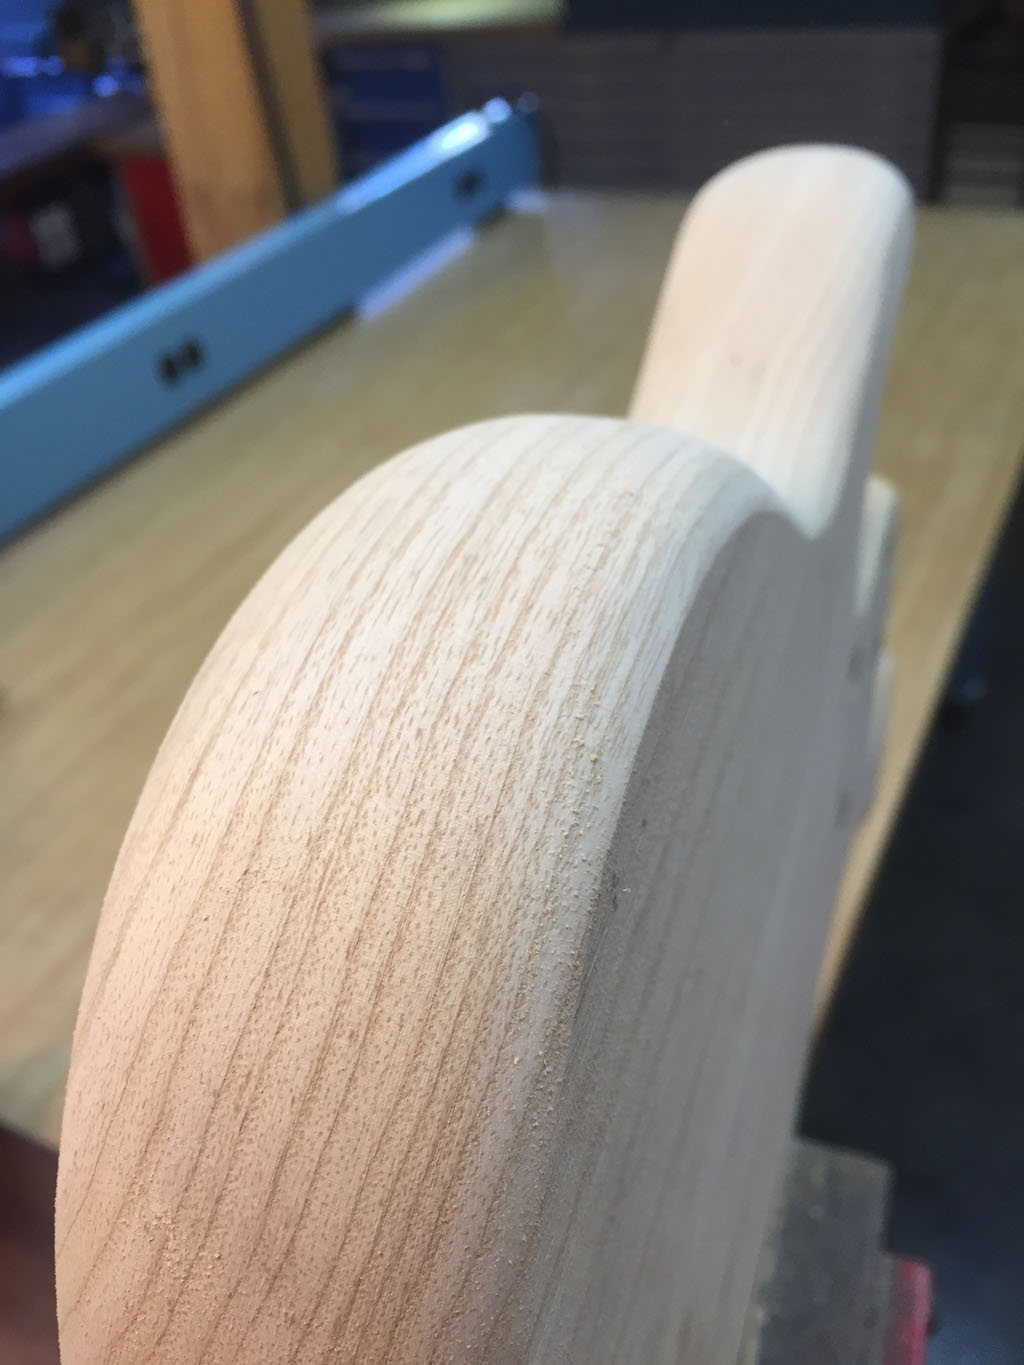
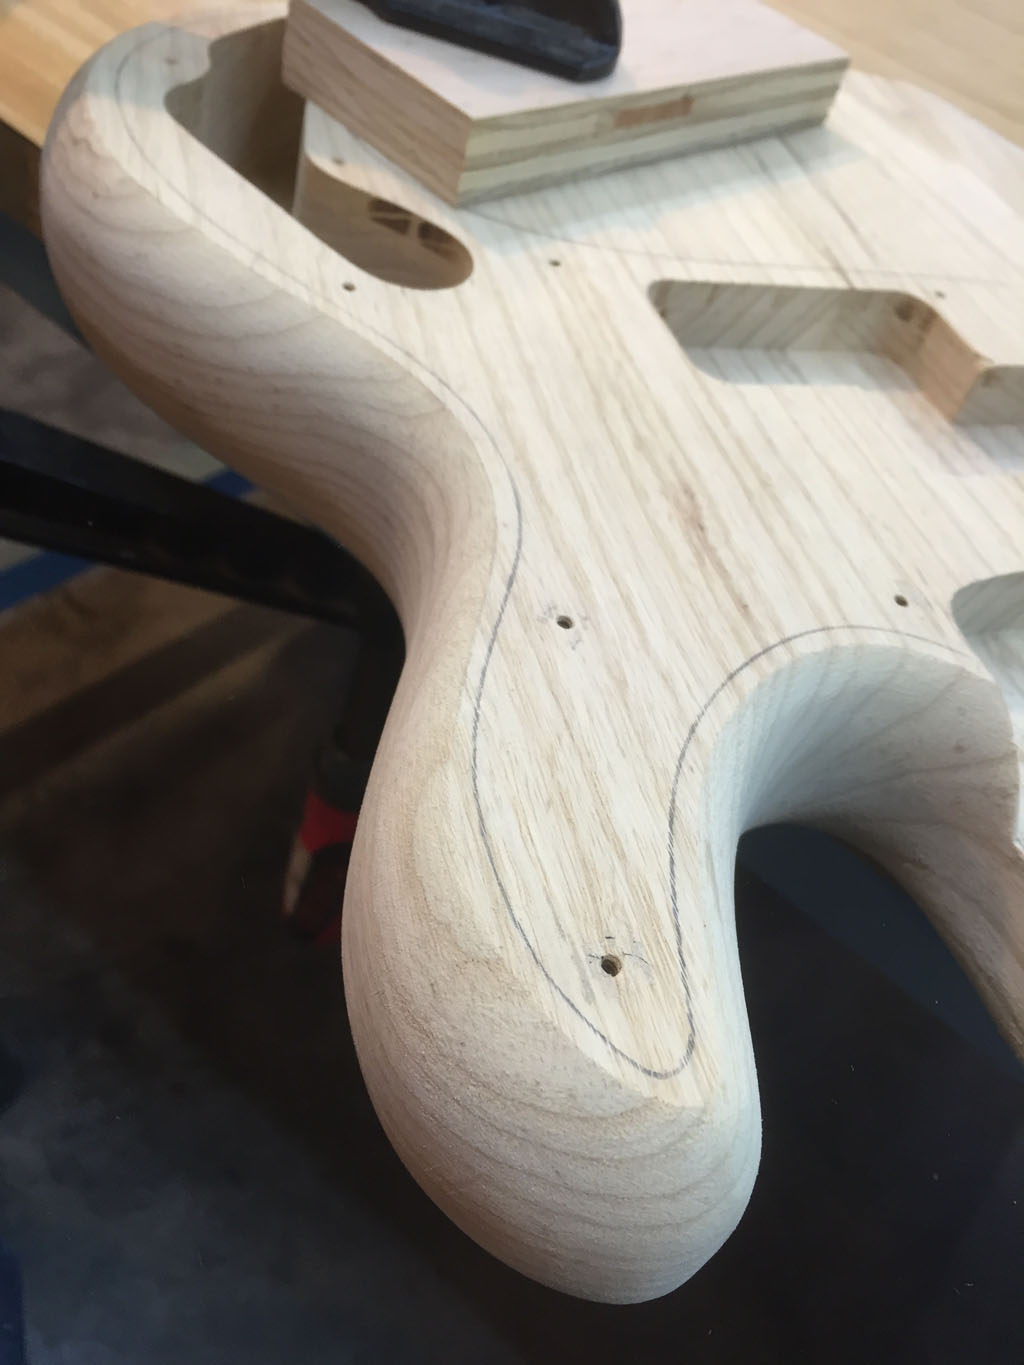
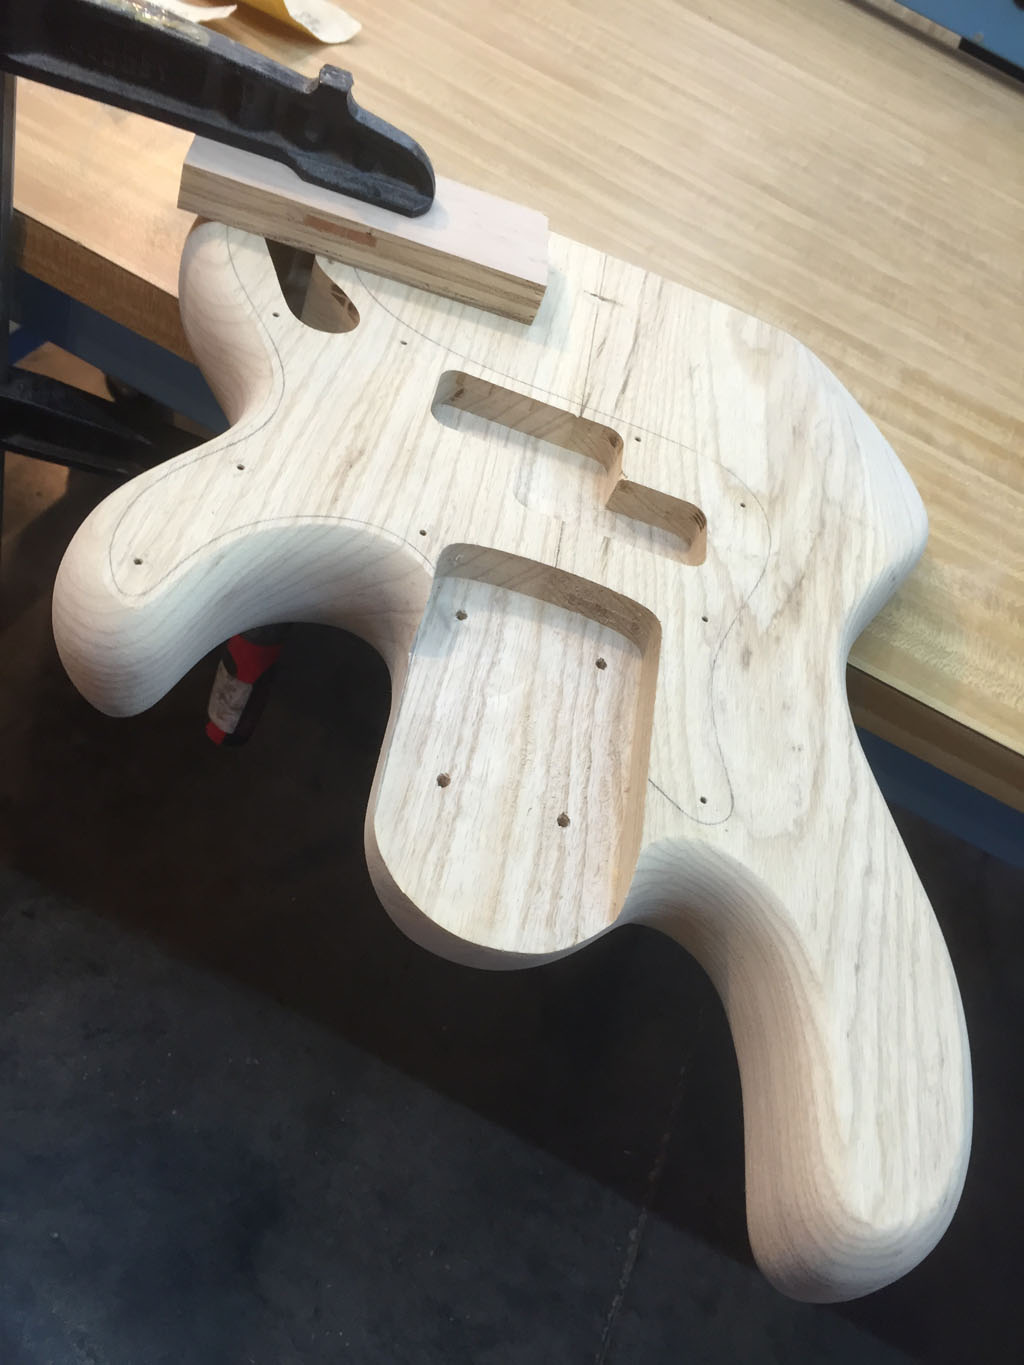
Below: View of the front after hand sanding.
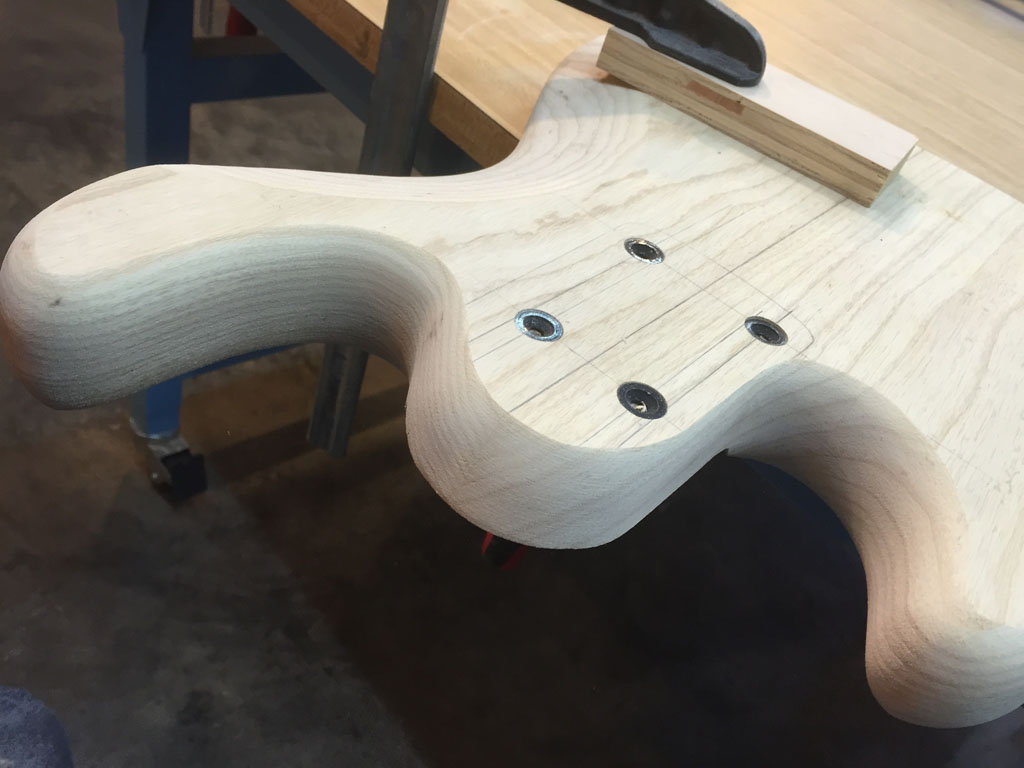
Below: View of the heel after hand sanding.


Where would we find the metal extension that you are using?
Hey Jarin, You mean this thing?
http://www.grizzly.com/products/7-1-2-x-2-1-4-Handheld-Pneumatic-Drum-Sander/D4595?gclid=CO_U7Ze40dACFchLDQodPqEGKA