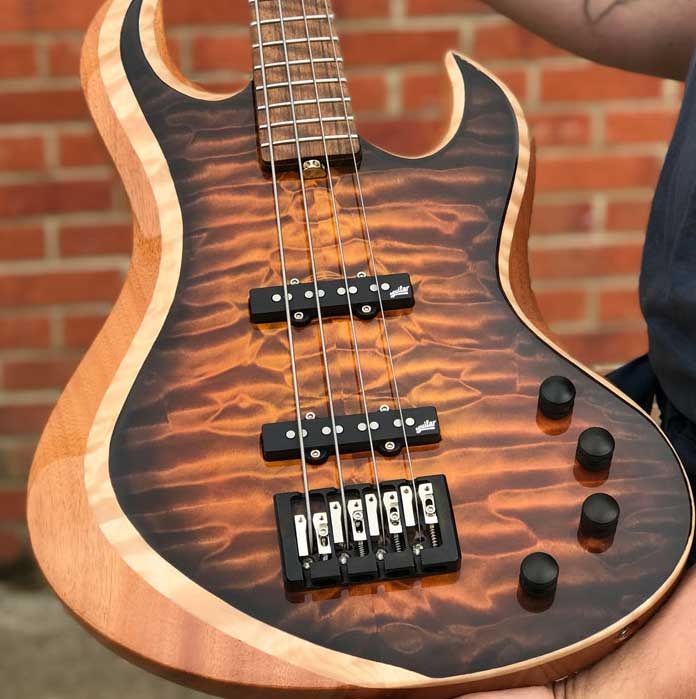
Most folks find pickup foam the easiest to use. Foam works in nearly all installations with plastic pickup shells. Here, we will look at photos from a soapbar installation and a J style pickup installation. Read the article first and if you are uncomfortable performing the tasks required, take your bass to a qualified guitar/bass technician. (click here >> to list our list of Technicians)
Along with your bass and new pickups, you will need:
1) foam
2) Phillips head screwdriver
3) scissors
4) ruler with measurements to the end (preferably one in metric)


Step 1: Take note of the current height of the pickup. Think about the feel for your playing style and if you’d like it closer or further away for your new pickups. Measure from the surface of the instrument (or pickguard if used) to the top edge of the pickup. This will give you a sense of approximate height for the setting of the new pickup.
Step 2: Typically, there will be foam or wood shims in the cavity supporting the pickup. Sometimes it can be reused, but often it will have compressed and have lost its spring. Push on the pickup and play the bass a bit to get a sense of the current resistance of the existing support and decide if you are happy with both the distance and support.
Step 3: Desolder and remove the existing pickup (if replacing) if it is still in the bass. Insert the wires of the new pickup into the channel that connects the pickups to the electronics cavity and set the pickup off to the side of the cavity. Though not used in the photos below, one may want to set a towel under the pickup to protect the finish.
Step 4: For J style pickups or narrow soapbars use, cut one piece of foam that is nearly the length of the cavity. For soapbars and P style pickups, cut two pieces of foam that are nearly the length of the cavity so that the foam fits in between any screw holes. The two rows will help control the lateral angle of these wider pickups (discussed in step 9).
Consideration for setting pickup height are plater comfortability/performance and pickup performance specific. Players who like to dig in quite a bit, will generally like the pickups a little further away. Those players who with a focus on economy of movement or light touch will want to set the pickups fairly close to strings. In general, a pickup will perform best when it is reasonably close to the strings.


Step 6: Push in the pickup and twist the screws into the body. Don’t force the screws to push the pickup in, hold in with your finger. Set the pickup to the height set out in step 1 or to the desired approximate height. 8-10mm is a good starting point if you are assembling a new instrument.
Follow the precious instructions for the second pickup.
String up bass and tune to pitch.
Step 7: Hold down the lowest string at the last fret as shown below.
Step 8: While holding down the lowest string as shown below, measure from the top of the pickup to the bottom of the lowest string as shown to the right. The majority of pickups can be set 2-3mm away from the pickups. This is roughly the minimum distance most players with a light touch would want. For those that dig in, a distance of 4-6mm would be a good starting point.
Step 9: Set the pickup angle. With Jazz style pickups, the angle of the pickup is set using the screws on each side of the pickup. Set the angle so that it matches the string.
With P and soapbar style pickups, the angle of the pickup can be adjusted by decreasing the amount of foam on the fretboard side of the pickup cavity as shown below.
Step 10: Repeat steps 7-9 for the treble side, holding down the highest string and measuring from the top of the pickup to the bottom of the highest string. It may be necessary to remove/add foam in the cavity to achieve the desired height and angle.
Occasionally, for certain pickups that have a large amount of magnetic pull on the string, setting the pickups that have a large amount of magnetic pull on the string, setting the pickups too close to the strings will give a vibrato-like effect is gone.
We hope that this article has been useful in your installation. There are multiple ways to set pickup height, this is just one approach.
Click here if you are interested in purchasing Pickup Foam >>
This article was prepared for Best Bass Gear by Brian Ristola. Brian
founded BBG in 2003 and continues to work in the industry producing fine bass guitars.
Visit his work at: www.ristolainstruments.com TM


When we moved into our farm house, we asked around for a gbgaare company and people laughed at us and said why do you need them? I was confused. They said we recycle and burn here in this area. So that is what we have done for over 8 years now and will continue as we move into a different state and farm house.
“Follow the precious instructions for the second pickup.” Although the instruction *are* “precious”, they were “previous”.
Hi, I have a Epiphone hollow body Viola Bass and have to change the original pickups as they have had liquid spilt on the and they don’t work anymore and I can’t find any NYR and NYT pickups on the internet. The pickups I plan to install are a Di Marzio DP145 neck pickup and a double coil Jazz bass bridge pickup can you suggest how to install these pickups into my hollow body Viola bass, there is a tail block and a neck block but nothing in the rest of the body as with the Hofner version, hope you can help please.