
Check for tightness of fit. The ideal fit is as tight of a fit as possible without binding.
It is okay if the template fits too tightly as excess can be removed later on, whereas if it fits too loose, the neck will never achieve a proper fit.
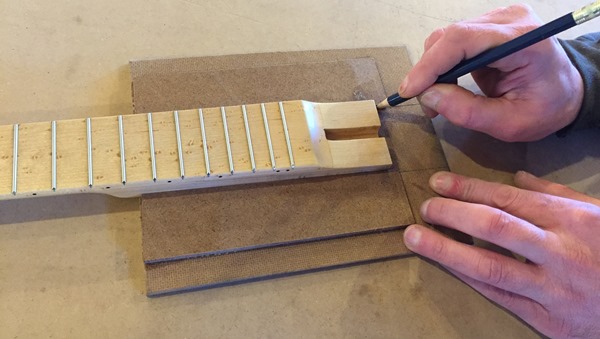
When the neck is fitted into the template for the test, a pencil is used to mark where heel line is.

After line for the heel has been determined, it’s then time to cut away the excess. This is not done using any one tool, as several will be used, including a rasp file, band saw, router and so on. Multiple tools are used because rougher cuts are used to take off larger amount of excess while smoother cuts are used when finalizing the shape.

Above: Performing bulk cut on the bandsaw.

Above: Excess material cut away but not yet flush to edges.

Above: Using a router with flush trim bit to cut away excess.

Above: Using a file to square out the corners (our neck in this particular application has a square heel to it, yours may be different.)
Straight-cut heels usually do not take much time to complete, but curved heels do take more time. On a curved heel, expect the work to be slow as you are getting the template into your proper shape. It is completely normal that you will spend anywhere from 2 to 3 hours to get the template shape correct. This is necessary so you won’t have to recreate the template all over again.

Above: Test fit of the neck to template.
We’re not totally done with the template just yet – but almost.
Where are the rest of the build steps?
You can view them all here.

