Free shipping on US orders over $50 · In-stock orders usually ship within 1 business day · 877-839-3531
Shop the store
Repair & Installation

How to build a bass guitar – Cutting out the body part 2

This is a continuation of part 1. The remainder of the body is being cut out.

Below: Continuing to cut around the lower horn.
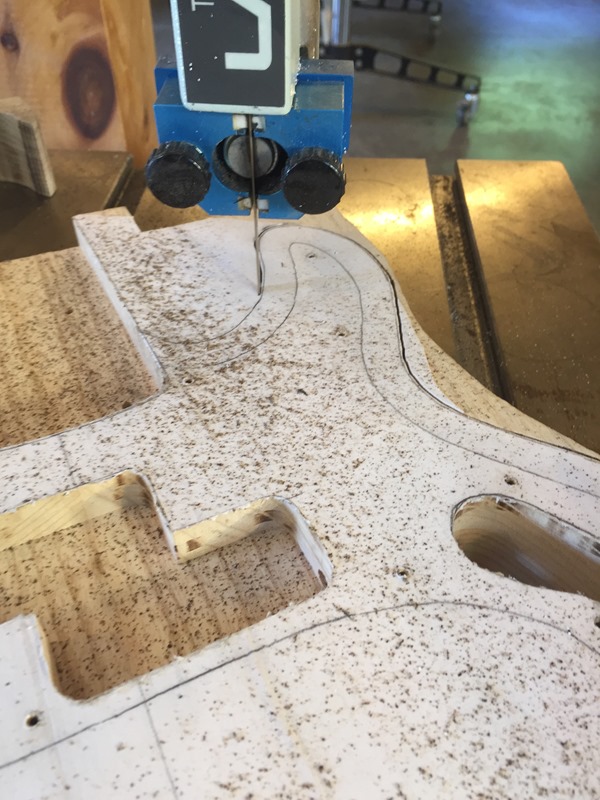
IMG_3640

Below: Beginning to cut the neck area. The cut distance from the pencil line has been purposely increased from a 1/16″ distance to 1/8″; this keeps the standing rib from breaking too easily.
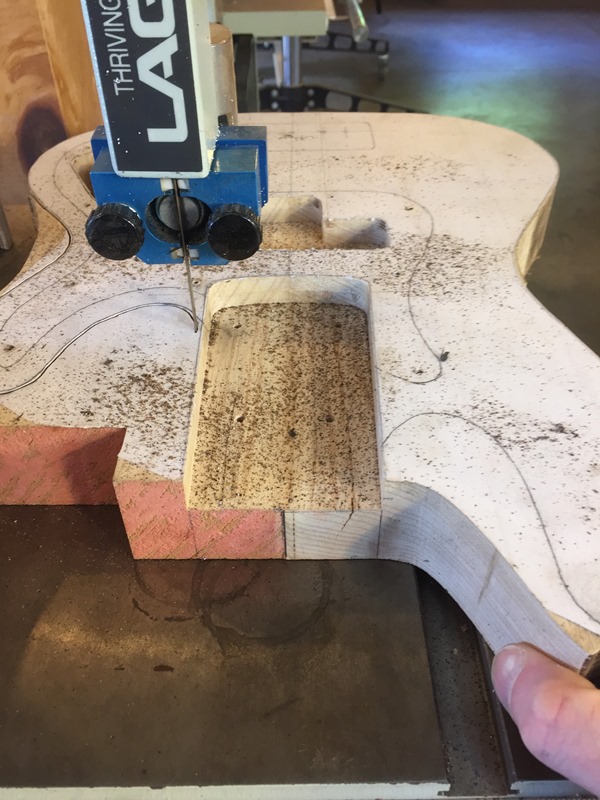
IMG_3706

Below: Finishing the neck area cut, treble side.
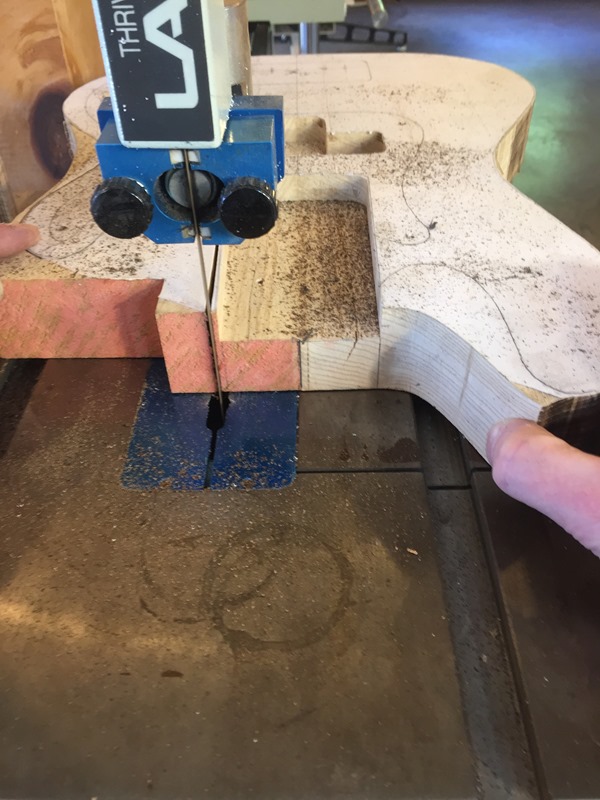
IMG_3739

Below: Beginning cut on the bass side.
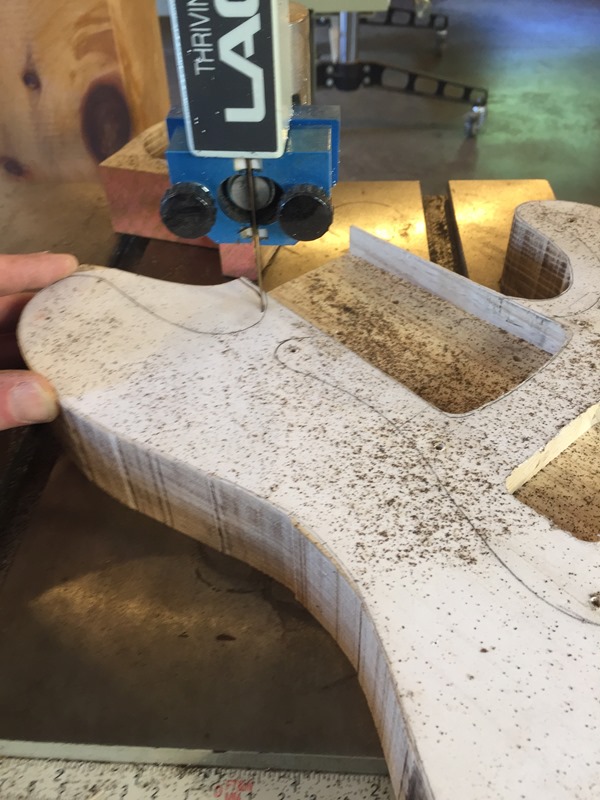
IMG_3747

Below: Cutting around the upper horn.
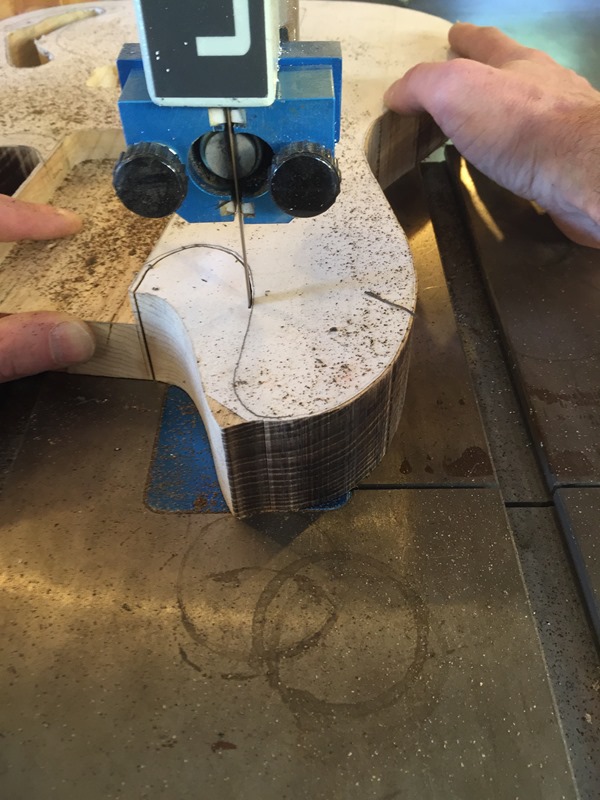
IMG_3806

Below: The body has been flipped for the reason the design of the heel is on the back and it needs to be seen to make the proper cut.
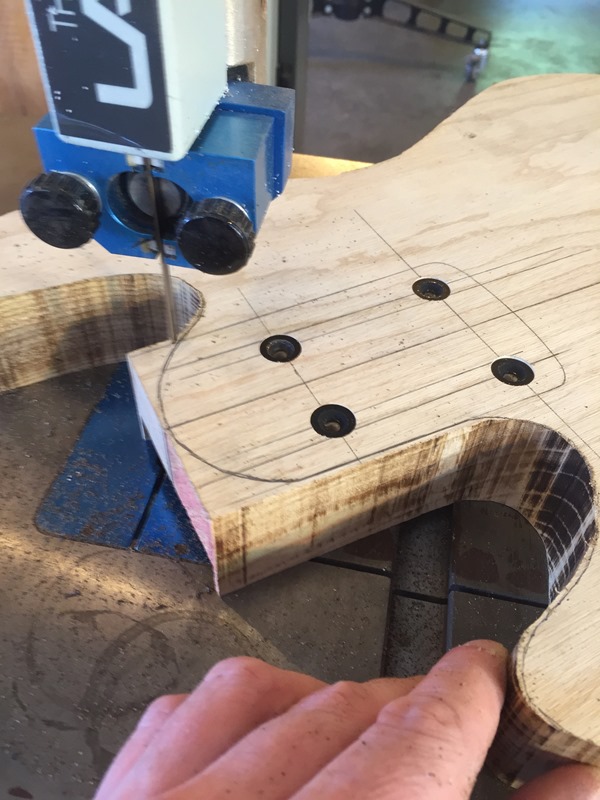
IMG_3844

Below: Continuing to cut around the heel area.
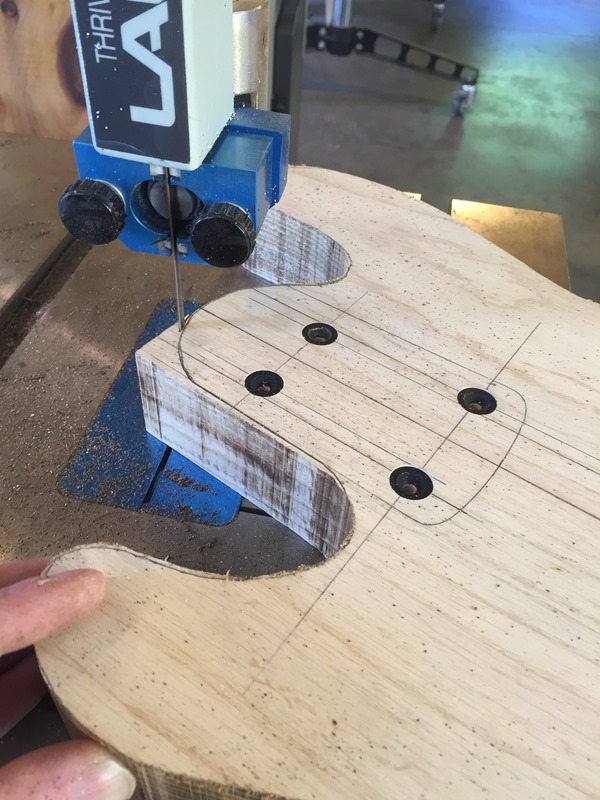
IMG_3880

Below: Rough cut finished.

IMG_3895

Where are the rest of the build steps?
You can view them all here.
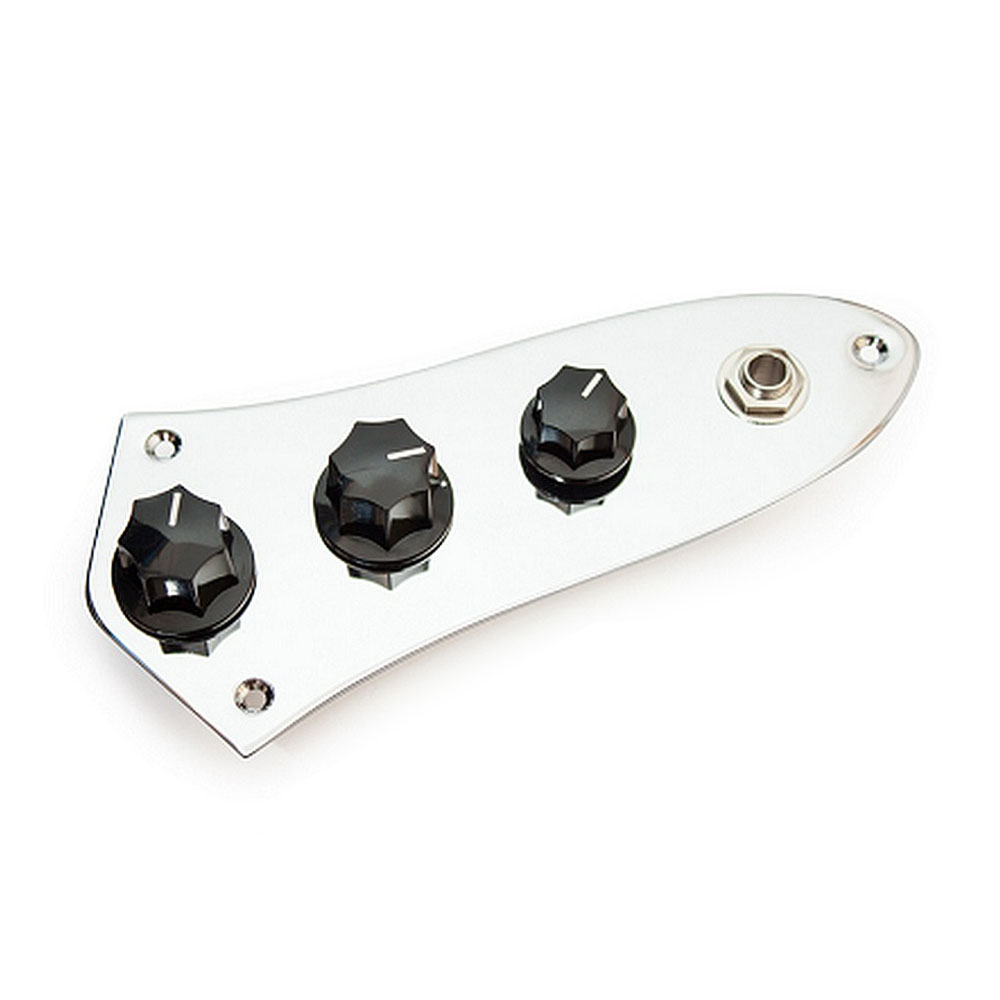
Parts for this job

Shop all →

Next stepShop tools and partsIn-stock parts usually ship within 1 business day.
Shop now

1 thought on “How to build a bass guitar – Cutting out the body part 2”

  1. Why do you make the front of the heel round? There can be considerable pressure on that edge, and should be square to dissipate the load. Right? What was your logic?

    Reply

Leave a comment

We only use your email if we need to reach you about your comment. Here's what else you should know:

  • Never publishedOnly your name shows with your comment. Your email stays with us.
  • No mailing listCommenting doesn't sign you up for anything. The newsletter is a separate opt-in.
  • A real person reads itEvery comment goes to the shop crew, the people who rewire and solder basses every week, and we answer the questions.
  • Spam-filteredEvery comment is screened by Akismet, so the threads stay useful.