
This is a continuation from part 5.
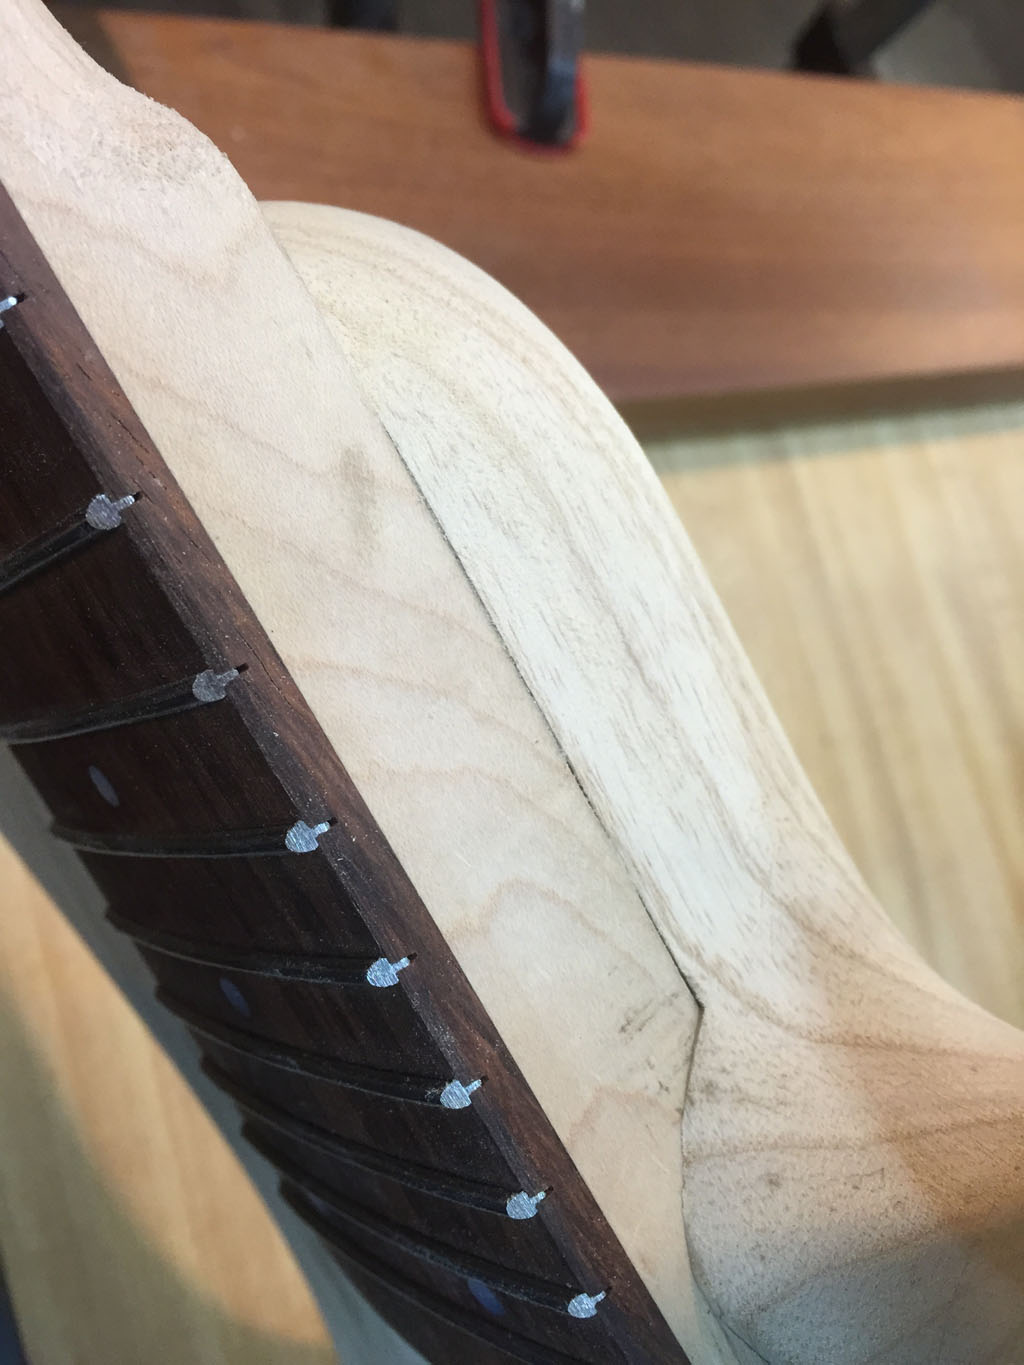
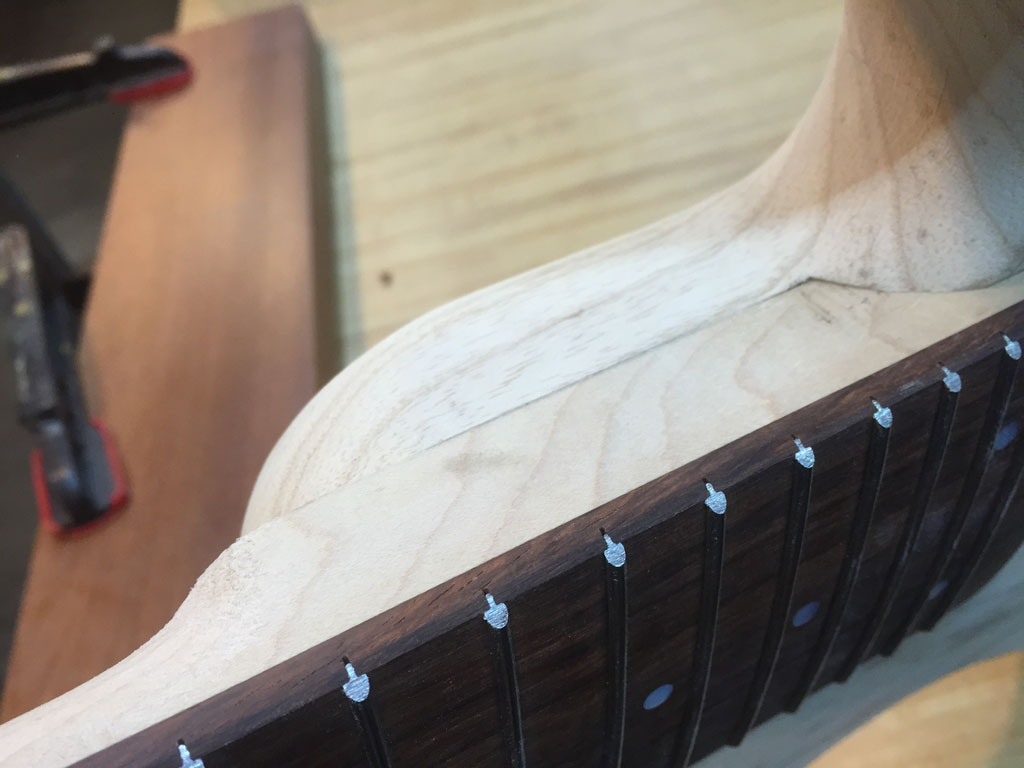
Below: Although the neck and the body look flush to each other, they are not (the body is sitting slightly proud of the neck). Shaping will be required to make sure these two pieces are flush to each other.
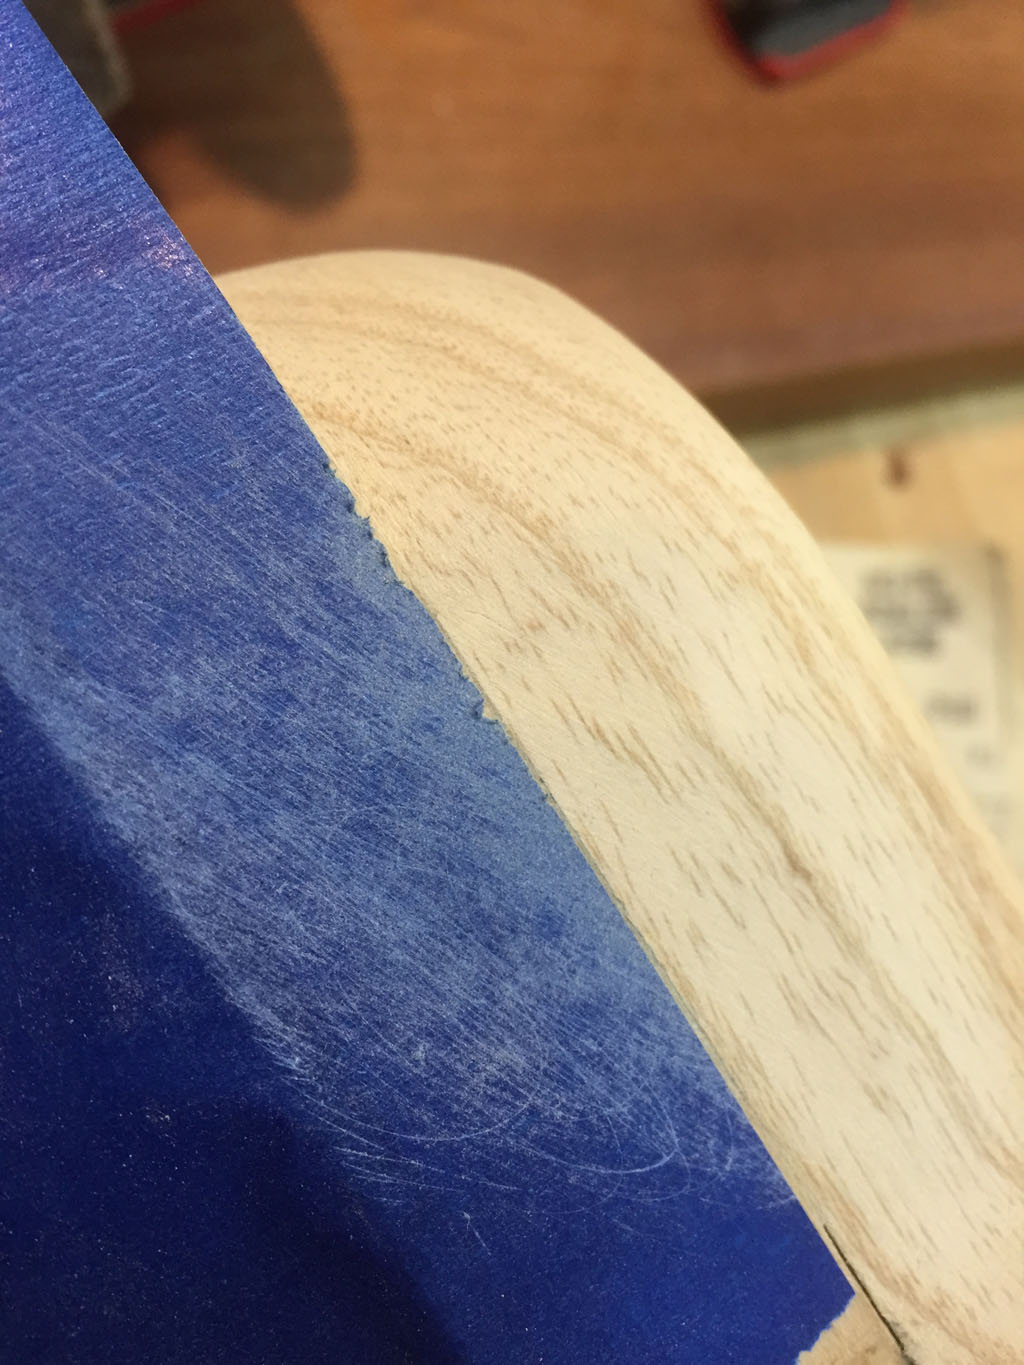
Below: Masking tape is applied to the neck as a safety so it is not scratched.
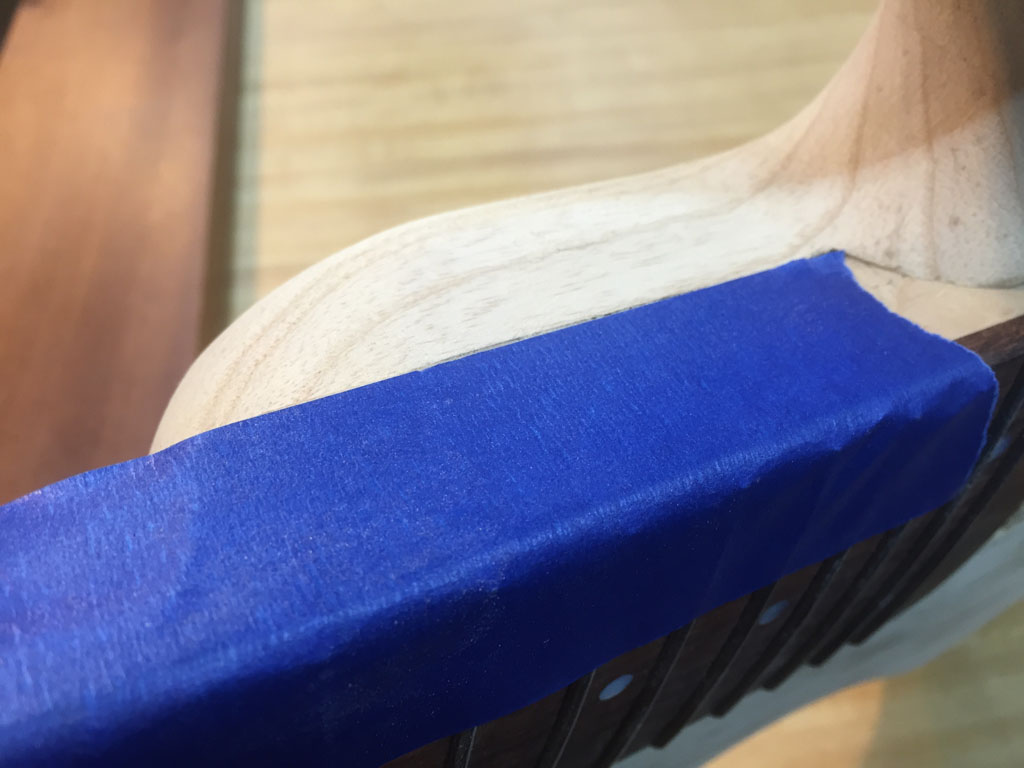
Below: Body leveling starts. A flat file is being used here.

Below: The leveling of the heel to the neck continues. Note how the tape saved the neck from being subjected to several small scratches.
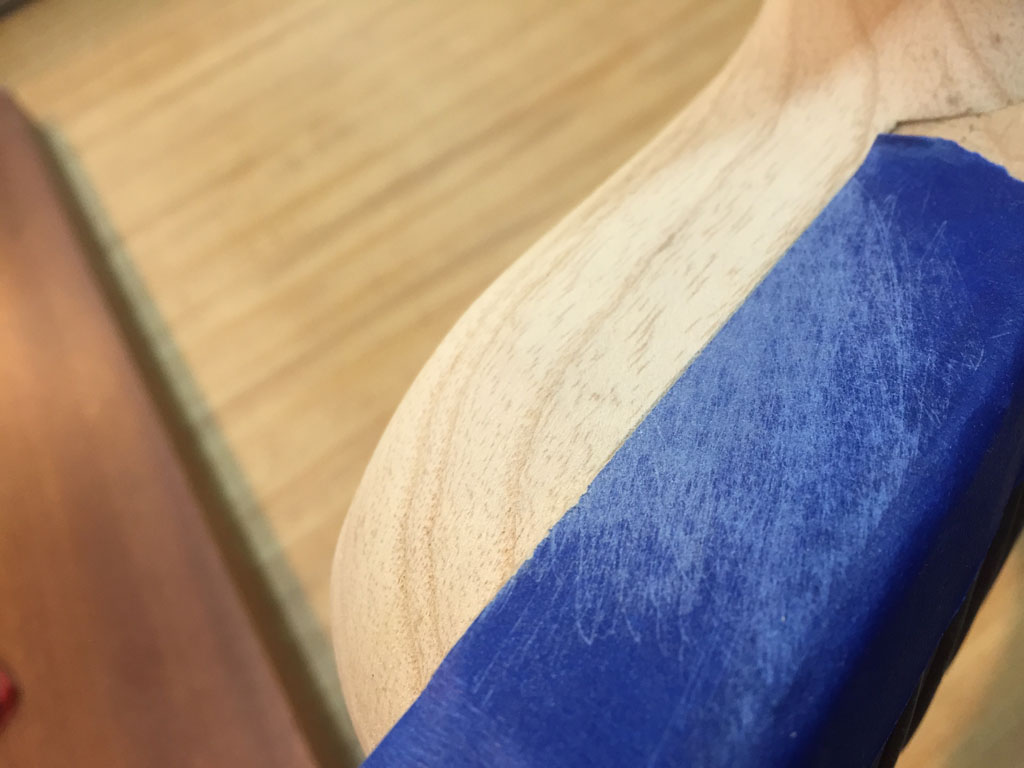
Below: The two surfaces are now flush to each other.
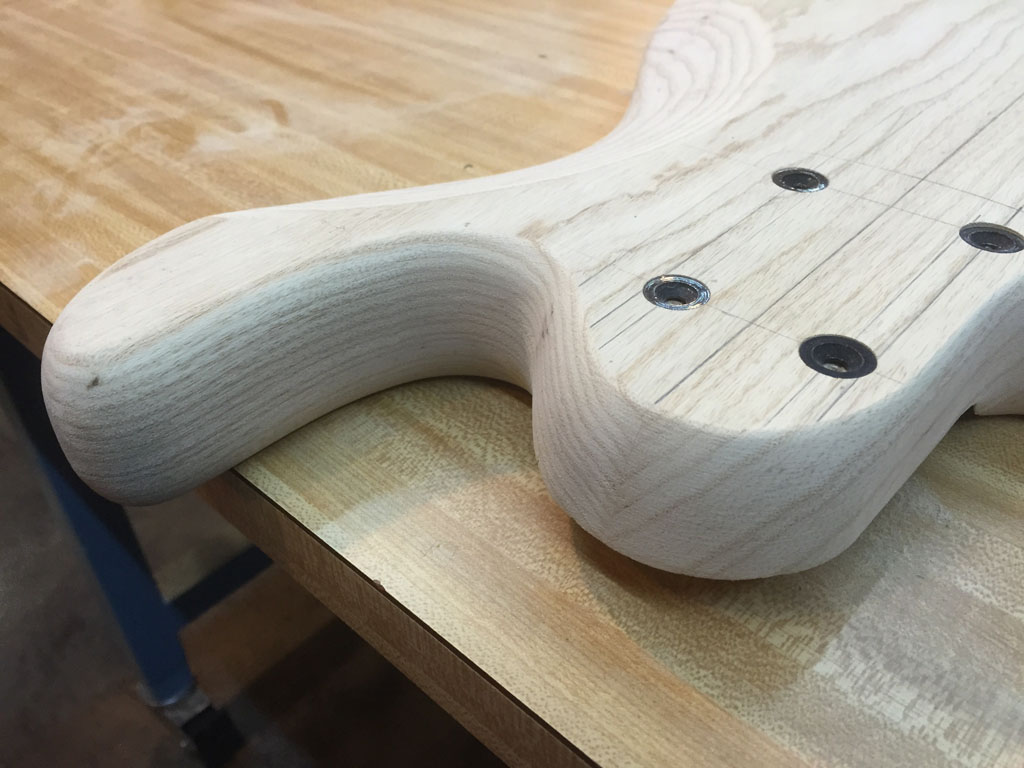
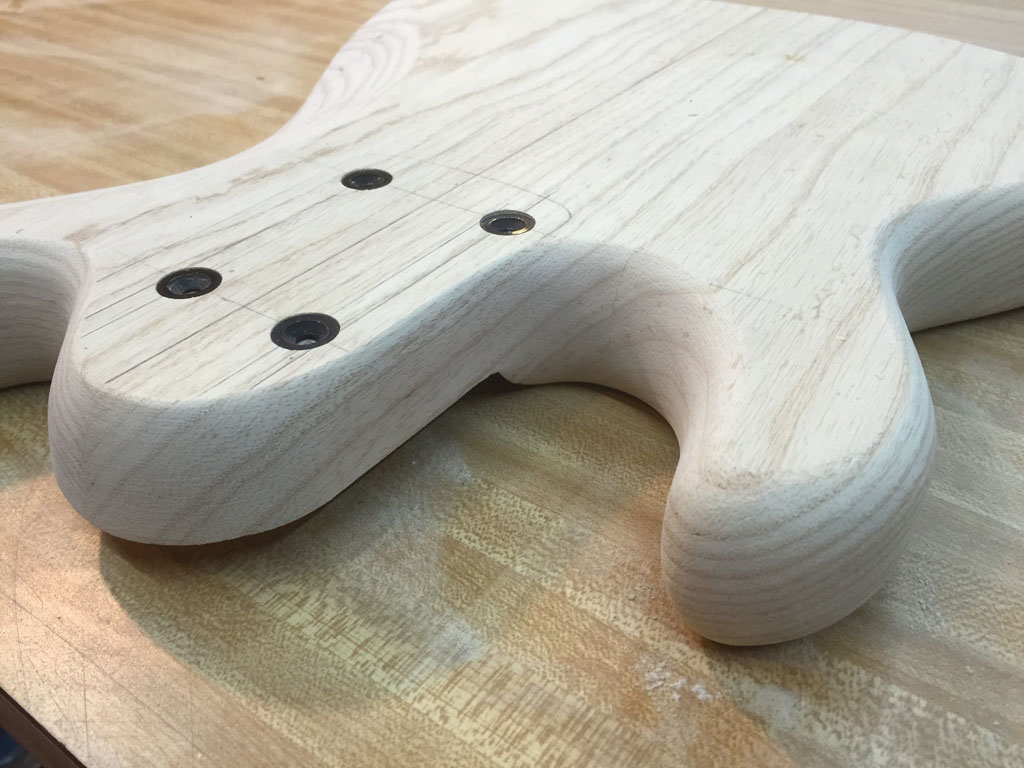
At this point the rough sanding is completed using 80-grit sandpaper. Here are views of what is completed up to this point.
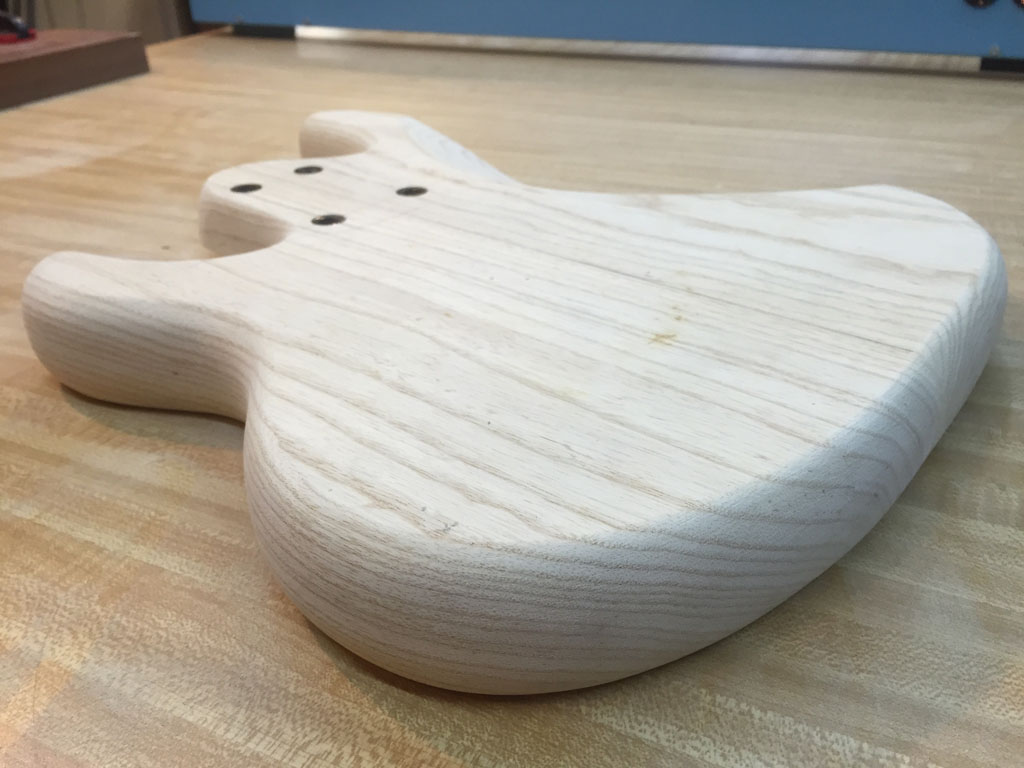
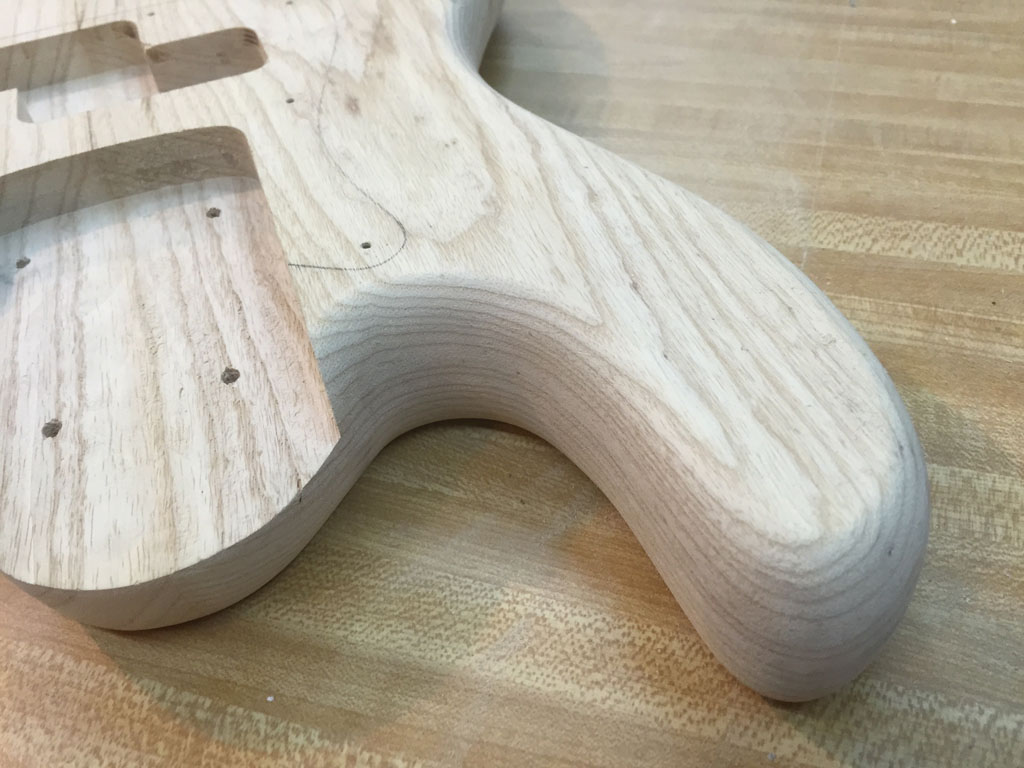
We’ll start with the upper horn and heel.
Next, the heel and lower horn:
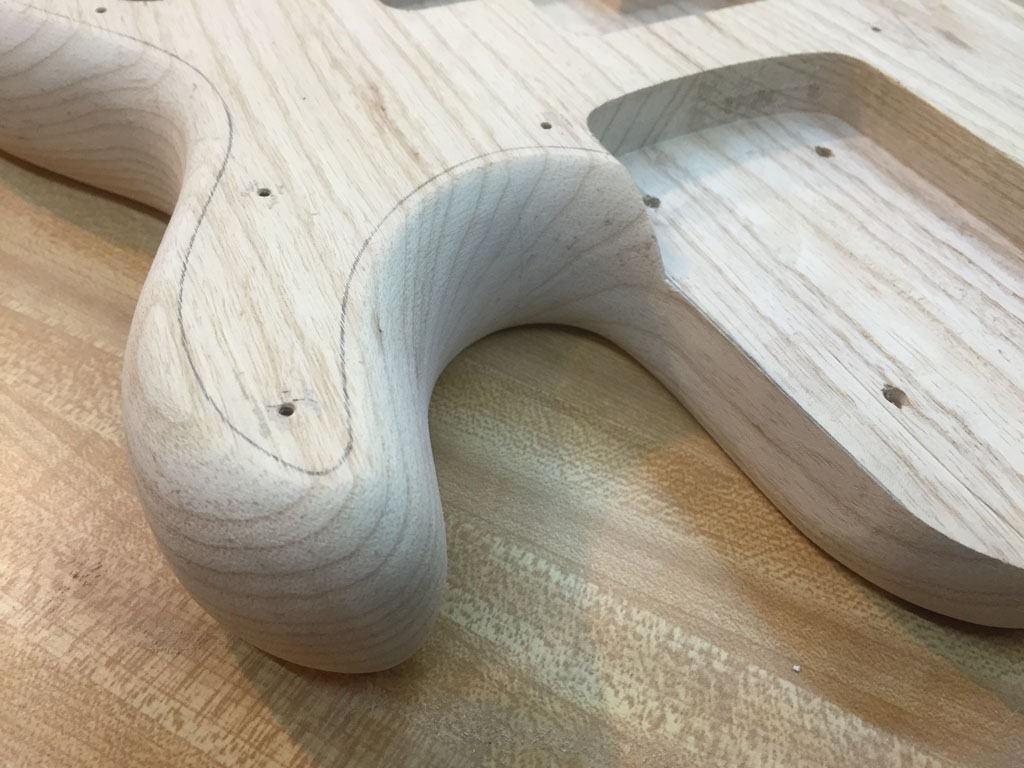
Next, the treble side butt:
Next, the back of the body:
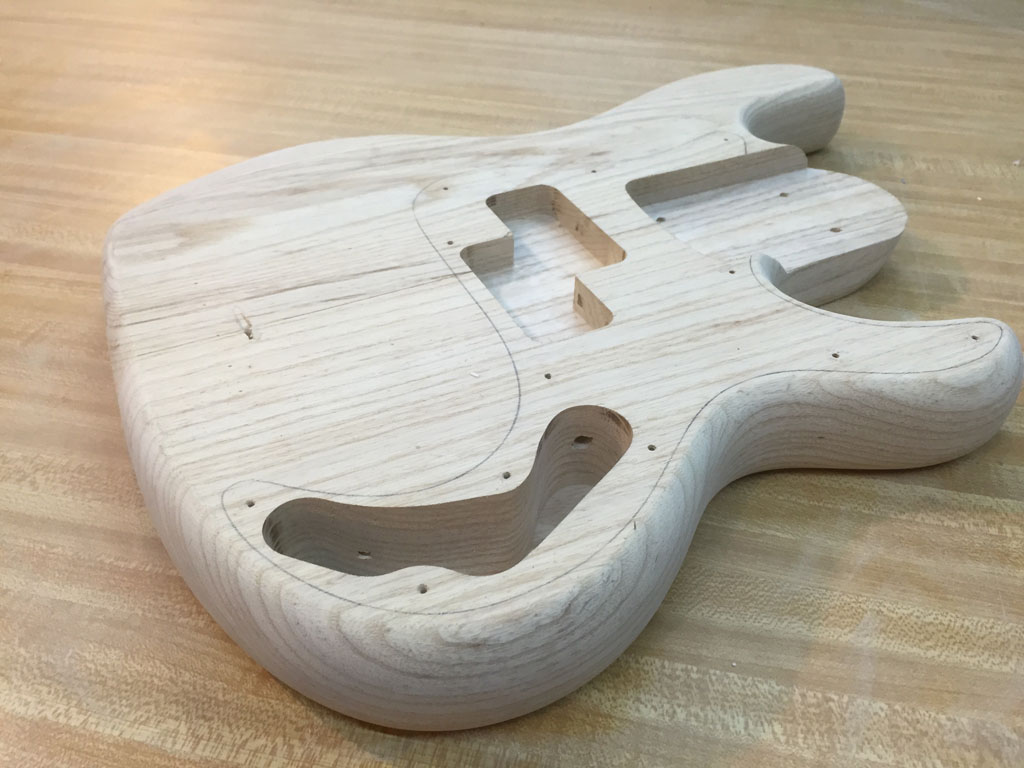
Next, the forearm cut view:

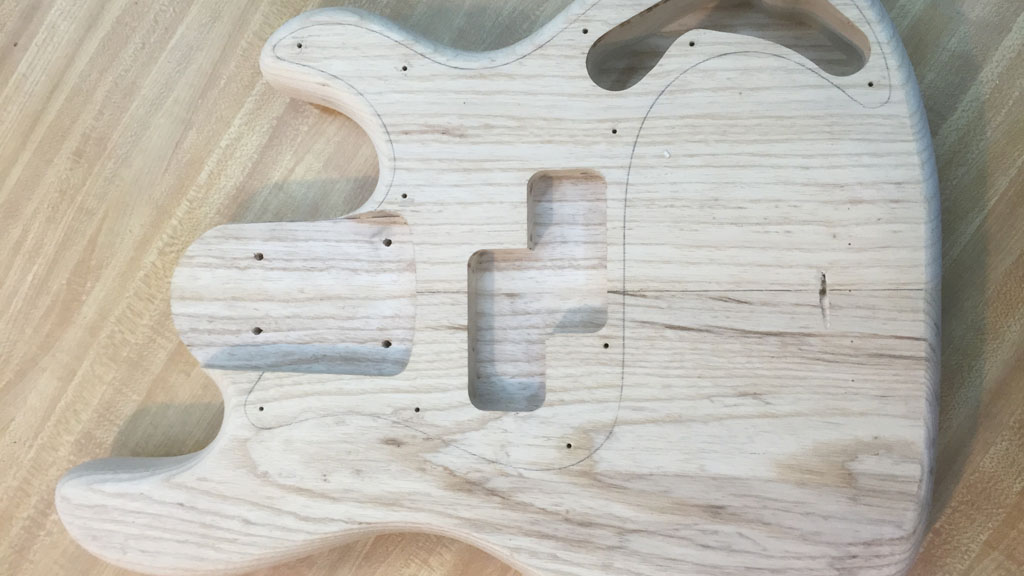
Next, the control cavity view:
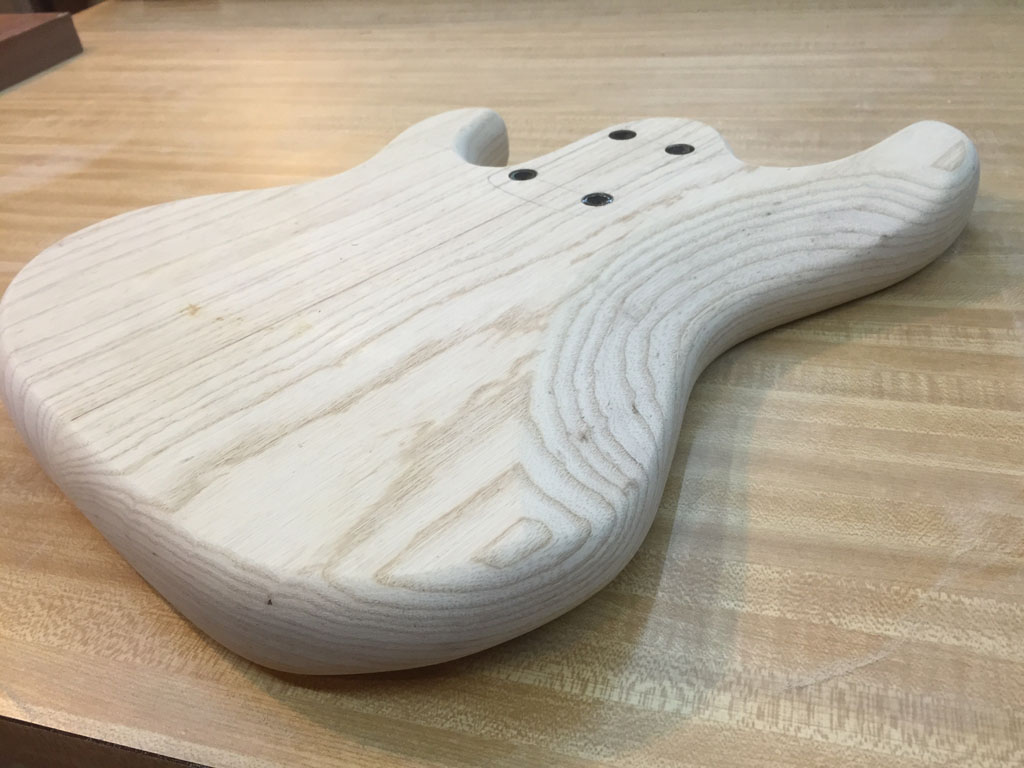
Next, the lower horn from a front view:
Next, the upper horn from a front view:
Next, the front horn again, this time zoomed out:
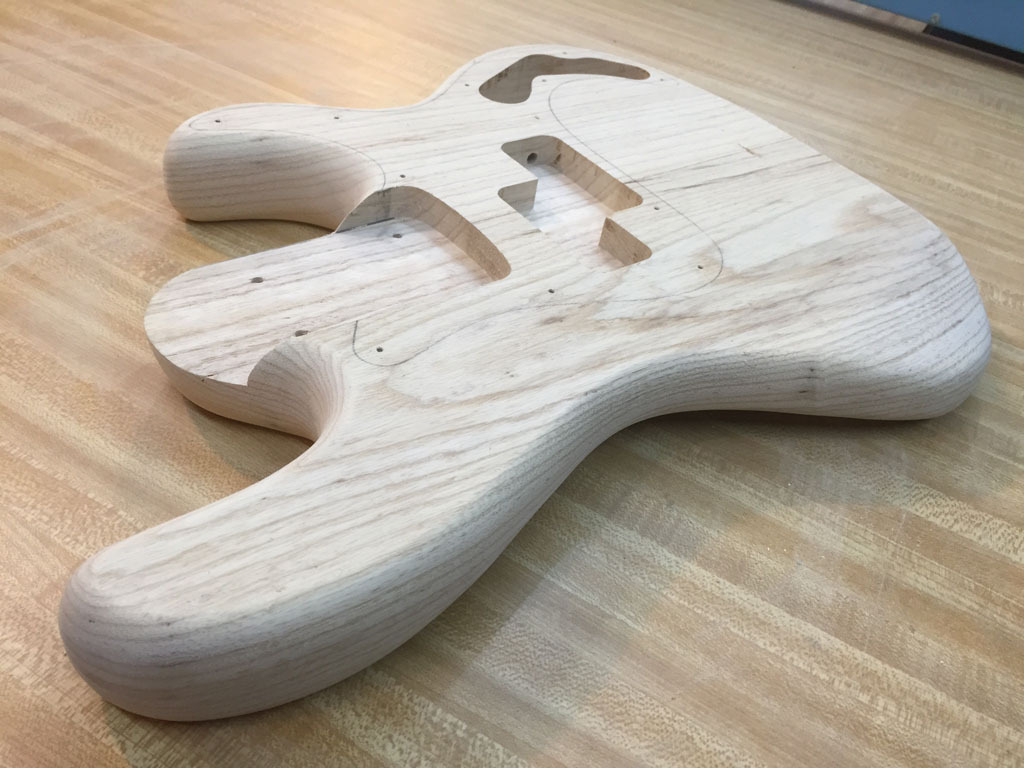
Finally, the overall view from above:

Where are the rest of the build steps?
You can view them all here.

