
This is a contiuation from part 1.
Below: The file is now being used to smooth the nut channel. All rough edges left behind from the chisel will be smoothed out.

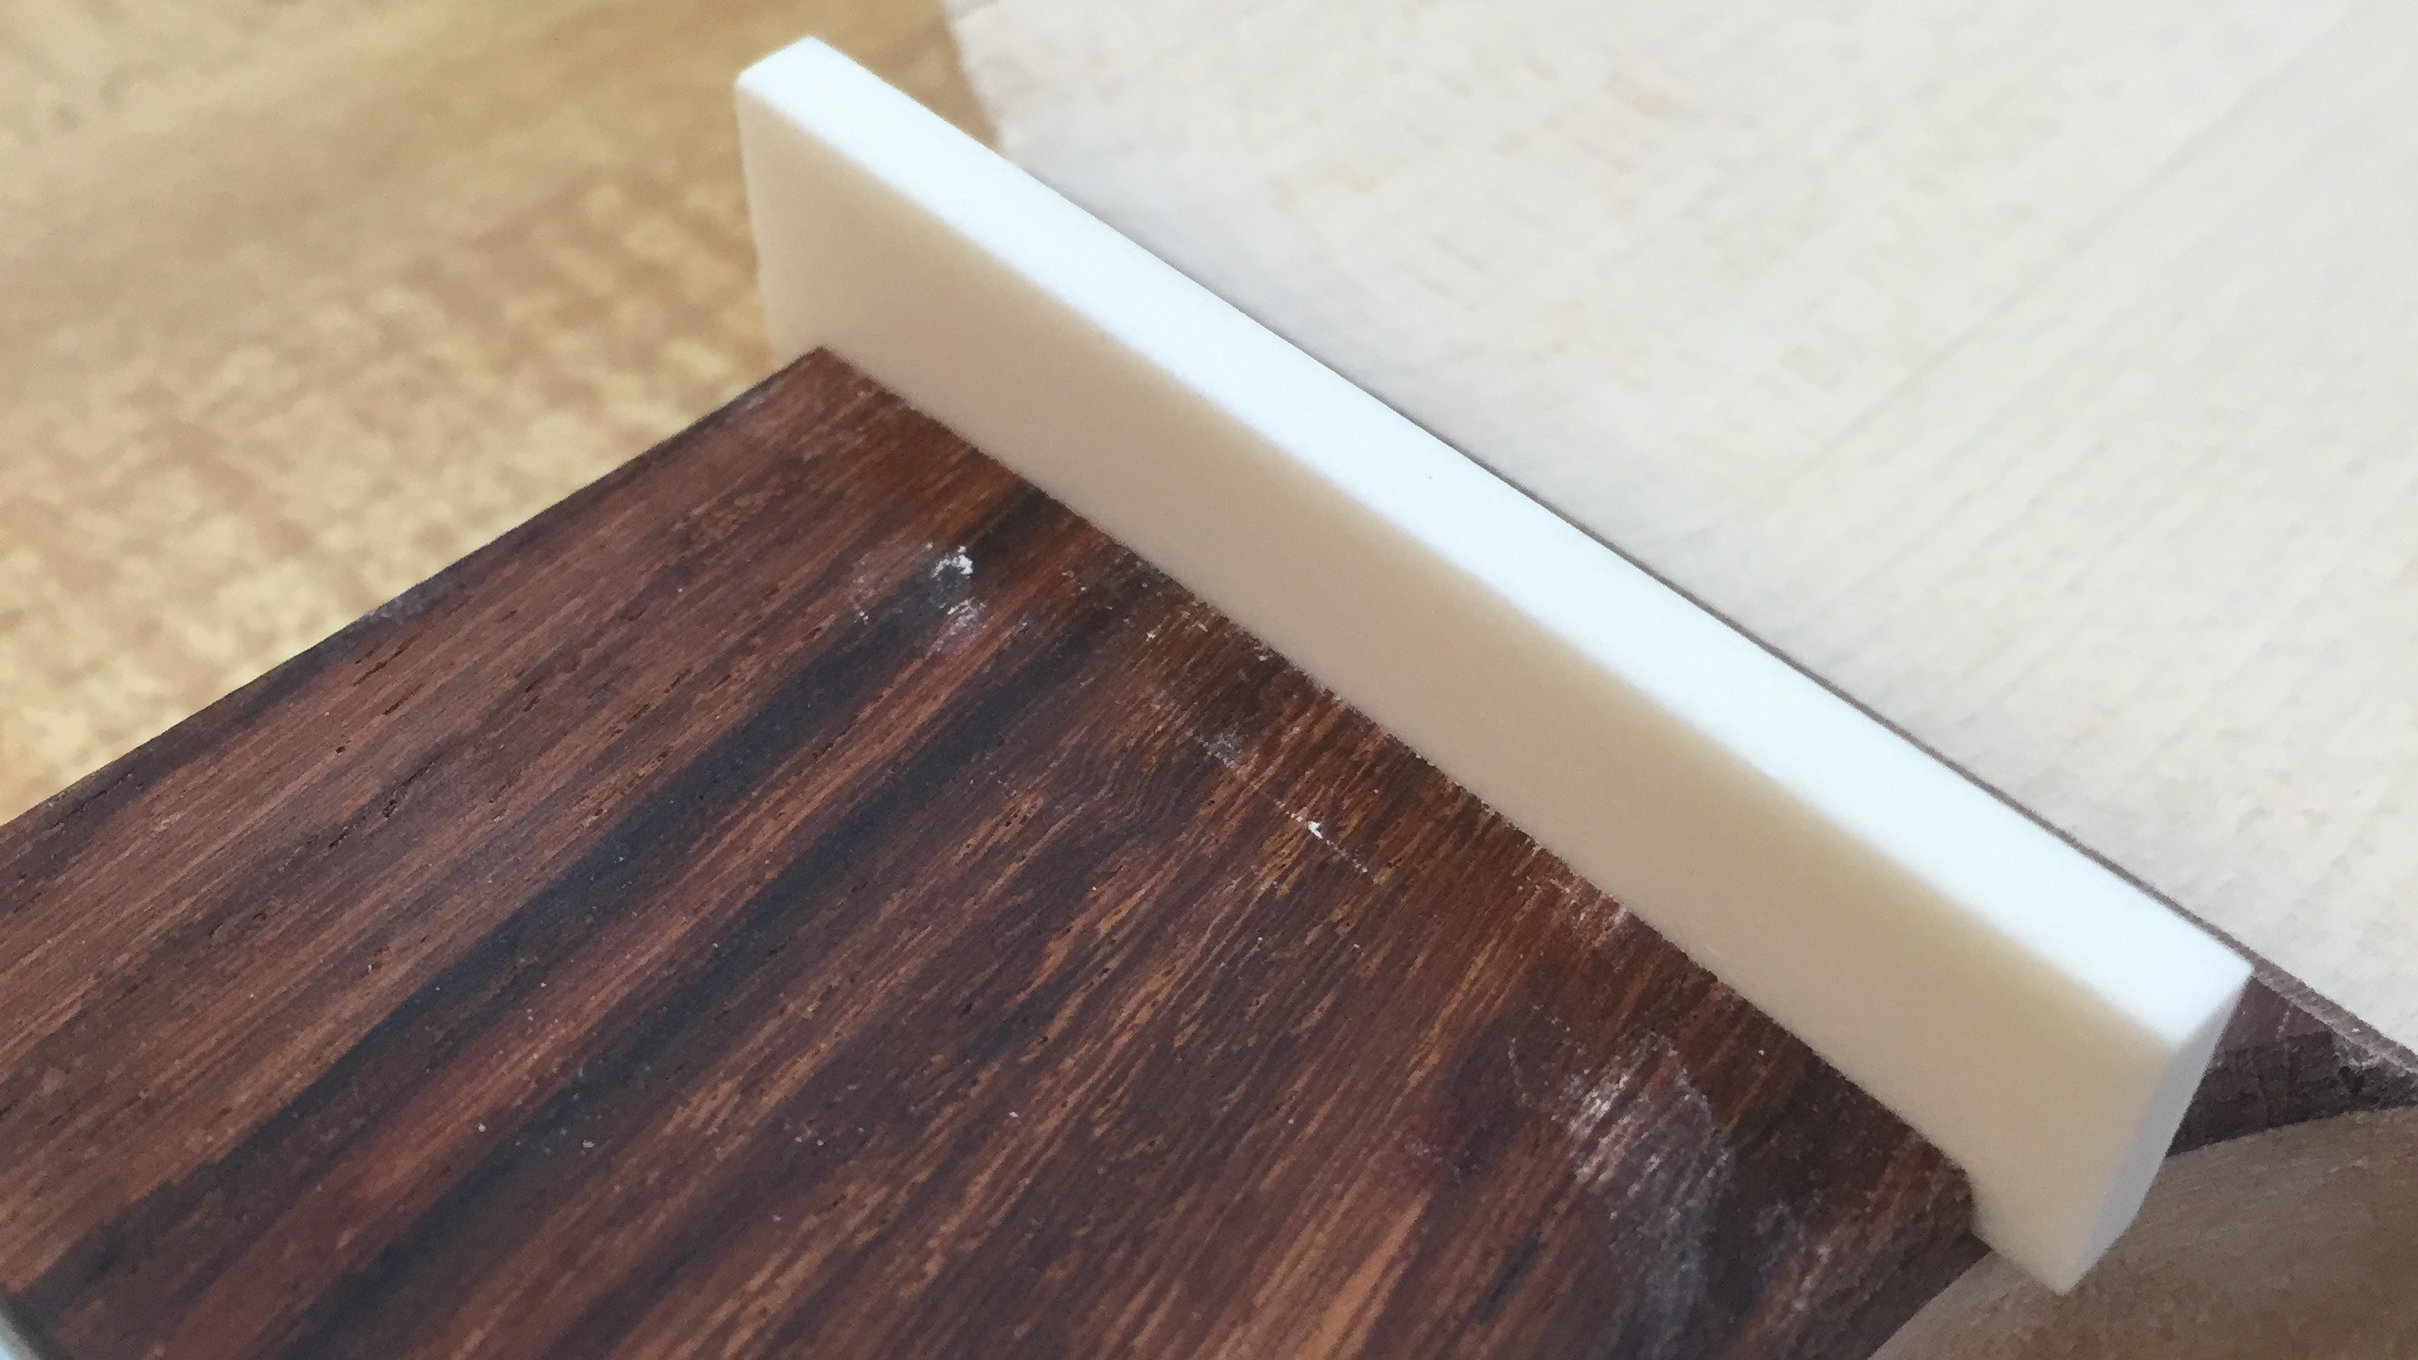
Below: The finished nut channel

Below: The current blank is oversized, which in this case is good because it can be cut down to size.

Below: A scrap piece of plywood to be used to help with setting the thickness of the blank. The blank itself is far too small for the machine on its own, so it will be taped to the plywood so it can be safely passed through.

Below: Tape is applied which will be removed to leave behind adhesive to apply the blank to.

Below: Tape removed, leaving adhesive behind, blank is then pressed to the the adhesive on the board.

Below: Blank is being run through the sander. 80-grit sanding paper is being used. This is the sander being used https://www.rockler.com/jet-drum-sander-1-75hp-w-open-stand


Below: The calipers are used to check the depth.


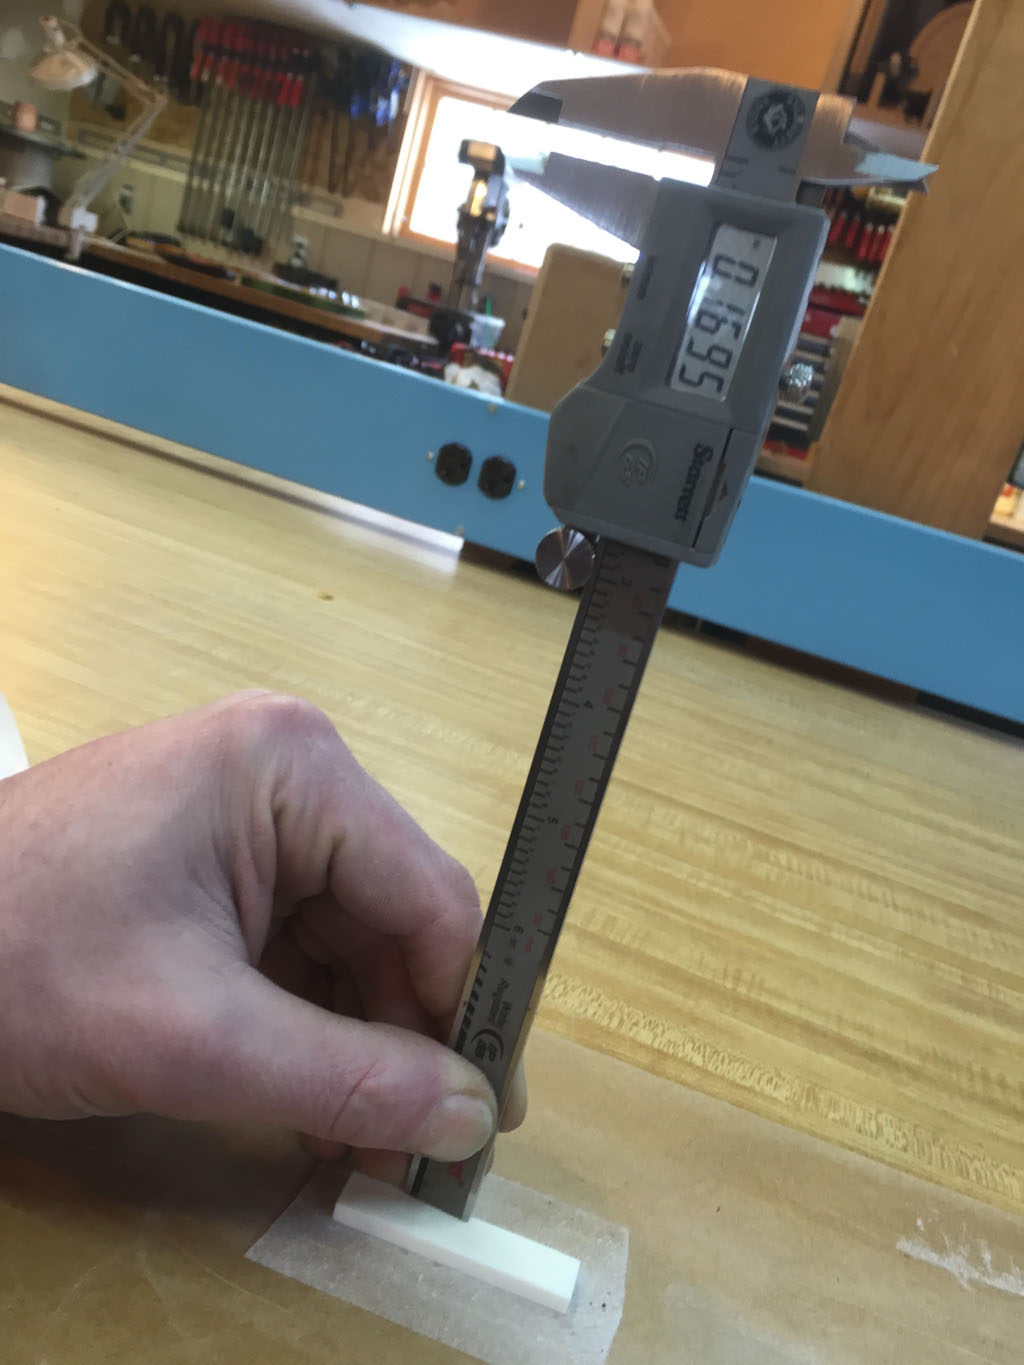
Below: Checking channel width and taking a measurement.

Below: After another pass with the sander, the blank is then given some fine sanding by hand to achieve the perfect fit.

Below: The blank now fits in the slot correctly.

Where are the rest of the build steps?
You can view them all here.

